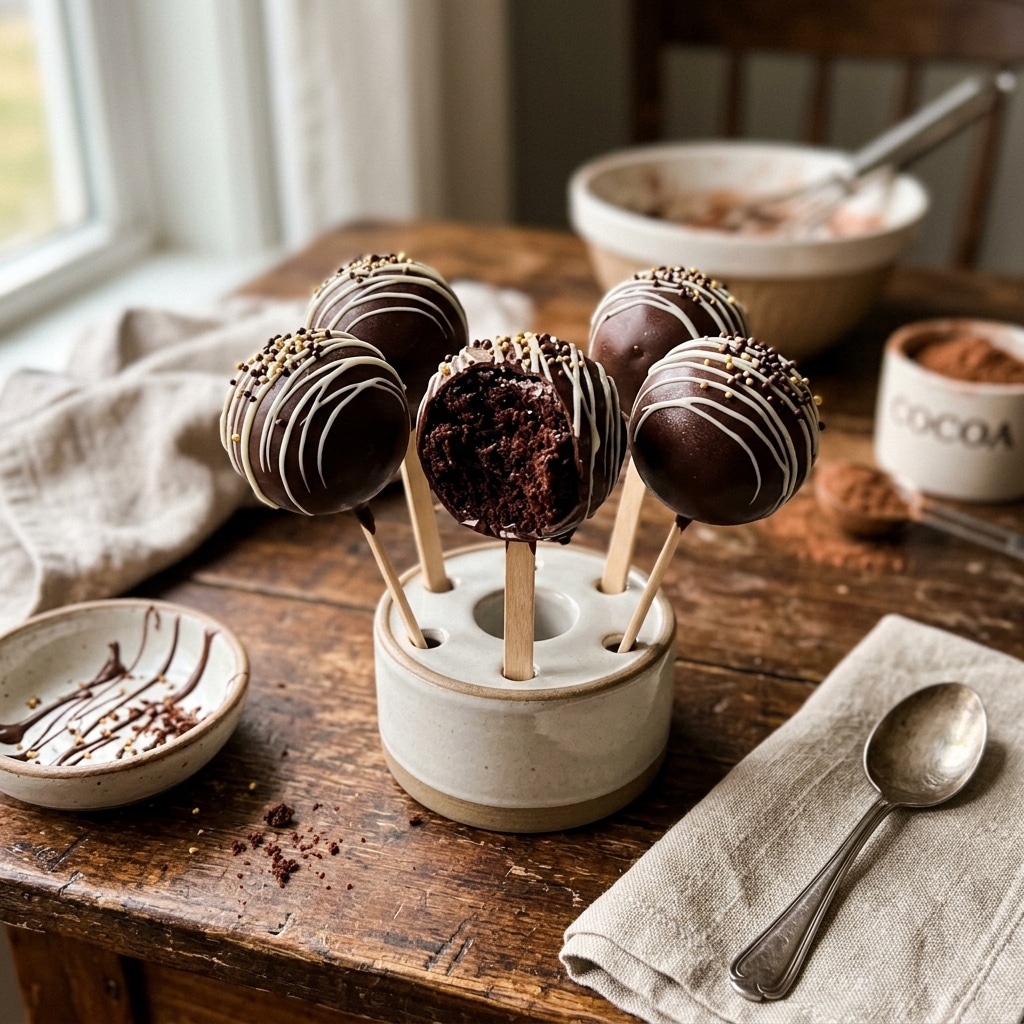
I love how soft and fudgy the cake filling becomes once mixed with the cream cheese frosting.
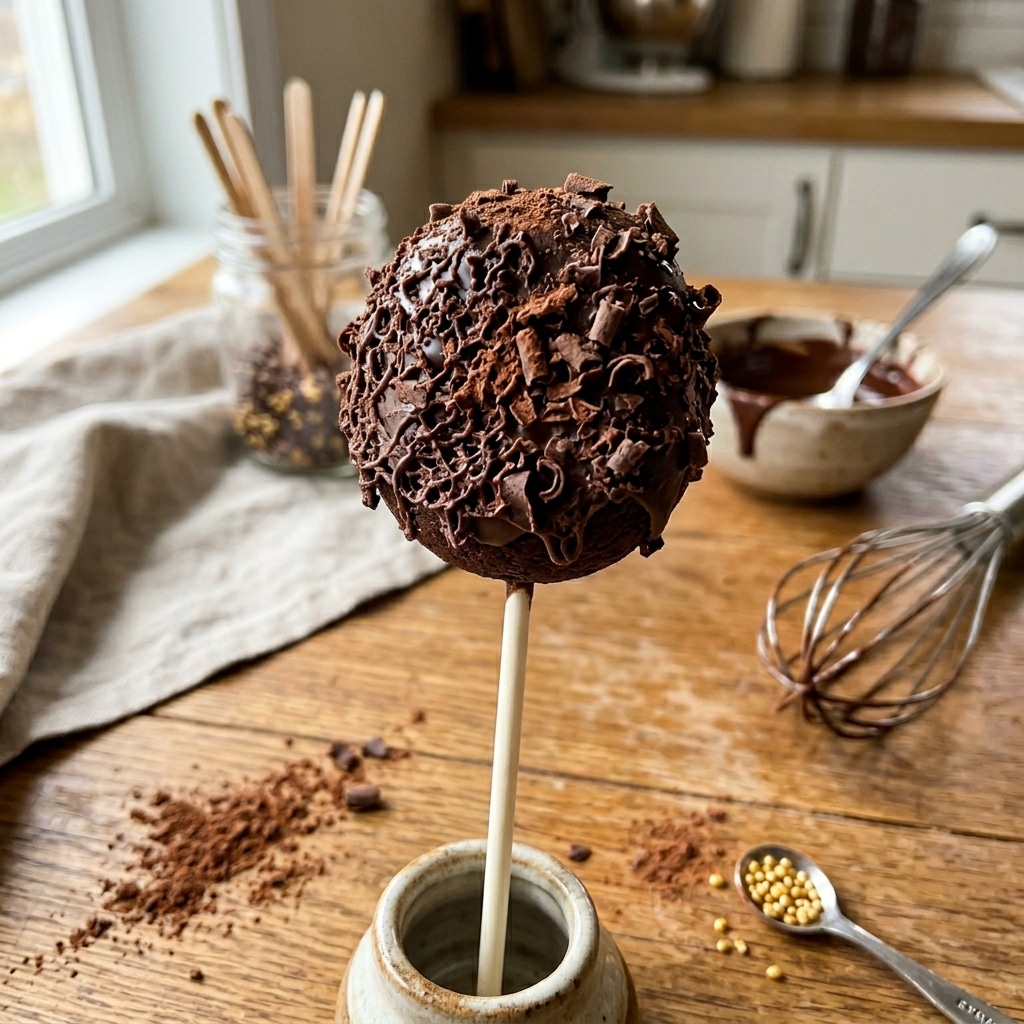
The chocolate coating gives each cake pop a satisfying crunch that pairs perfectly with the moist center.
I also like that these cake pops are fun to decorate with sprinkles, drizzles, or different candy coatings.
Ingredients
(Here’s a tip: Check out the full list of ingredients and measurements in the recipe card below.)
1 box chocolate cake mix Additional ingredients needed to prepare the cake mix according to package directions 12 ounces chocolate melting wafers Sprinkles for decoration
I prepare and bake the chocolate cake mix according to the package instructions. Sometimes I replace the water with milk for a richer flavor.
Once baked, I let the cake cool completely before transferring it to a cooling rack.
To make the frosting, I add the softened butter, cream cheese, vanilla extract, and 1 cup of powdered sugar to a large mixing bowl.
I mix everything with an electric hand mixer until combined.
I scrape down the sides of the bowl, add another cup of powdered sugar, and mix again.
Then I add the final cup of powdered sugar and continue mixing until the frosting is smooth and creamy.
Once the frosting is ready, I crumble the cooled cake into a large mixing bowl.
I add about 1 cup of frosting to the cake crumbs and mix until combined. If needed, I add a little more frosting until the mixture is soft enough to roll into balls.
I chill the cake mixture in the refrigerator for 30 to 45 minutes.
After chilling, I scoop portions of the mixture and roll them into balls. I place them on a parchment-lined baking sheet.
While the cake balls chill again, I melt the chocolate wafers in the microwave using 30-second intervals, stirring between each round until smooth.
I dip the end of each cake pop stick into melted chocolate and insert it into a cake ball. Then I return them to the refrigerator or freezer so the chocolate can set.
Once firm, I dip each cake pop completely into the melted chocolate coating and gently tap off the excess.
Before the chocolate hardens, I decorate the cake pops with sprinkles.
I let the cake pops set completely at room temperature or chill them in the refrigerator for a firmer shell.
Servings and timing
This recipe makes 24 cake pops.
Prep time: 45 minutes Chill time: 45 minutes Cook time: about 20 minutes Total time: 1 hour 30 minutes
Variations
I sometimes use vanilla or red velvet cake mix for different flavors and colors.
For extra texture, I mix crushed cookies or mini chocolate chips into the cake filling.
I also like drizzling white chocolate over the finished cake pops for a bakery-style look.
storage/reheating
I store the cake pops in an airtight container in the refrigerator for up to 1 week.
For longer storage, I freeze them for up to 2 months and thaw them in the refrigerator before serving.
These cake pops are best served chilled or at room temperature, so I do not reheat them.
FAQs
Why do my cake pops fall off the sticks?
I make sure to dip the stick into melted chocolate before inserting it into the cake ball because it helps secure the pop in place.
Can I make these ahead of time?
Yes, I like preparing them a day or two ahead and storing them in the refrigerator until serving.
Can I use store-bought frosting?
Yes, I can use store-bought frosting, but homemade cream cheese frosting gives a richer flavor.
How do I get smooth chocolate coating?
I melt the chocolate slowly and stir often so the coating stays smooth and easy to dip.
Can I decorate these differently?
Yes, I can use crushed nuts, cookie crumbs, candy drizzle, or themed sprinkles for different occasions.
Conclusion
These Chocolate Cake Pops are fun, rich, and perfect for celebrations or sweet cravings. I love the combination of moist chocolate cake, creamy frosting, and crisp chocolate coating, and they always make a beautiful homemade dessert.
Rich and fudgy chocolate cake pops coated in smooth melted chocolate and topped with colorful sprinkles. The perfect easy dessert recipe for parties and celebrations.
Author:Sarah
Prep Time:1 hour
Cook Time:30 minutes
Total Time:1 hour 30 minutes
Yield:24 cake pops
Category:Dessert
Method:Baking
Cuisine:American
Diet:Vegetarian
Ingredients
1 box chocolate cake mix
Ingredients required to prepare the cake mix according to package instructions
12 ounces chocolate melting wafers
Sprinkles, for decorating
Cream Cheese Frosting:
1/2 cup salted butter, softened
8 ounces plain cream cheese, softened
2 teaspoons vanilla extract
3 cups powdered sugar
Instructions
Prepare and bake the chocolate cake mix according to package directions. For a richer flavor, substitute milk for the water if desired.
Allow the cake to cool completely in the pan before transferring to a cooling rack.
To make the frosting, add softened butter, cream cheese, vanilla extract, and 1 cup powdered sugar to a large mixing bowl. Beat until combined.
Add the second cup of powdered sugar and mix again. Add the final cup and continue mixing until smooth and creamy.
Crumble the cooled cake into a large mixing bowl.
Add about 1 cup of frosting to the cake crumbs and mix using an electric mixer until fully combined. Add more frosting if needed until the mixture is smooth and easy to roll into balls.
Chill the cake mixture in the refrigerator for 30–45 minutes.
Scoop about 1 1/2 tablespoons of the mixture and roll into balls. Place onto a parchment-lined baking sheet.
Refrigerate the cake balls while melting the chocolate wafers.
Melt the chocolate wafers in a microwave-safe bowl in 30-second intervals, stirring between each until smooth.
Dip the end of each cake pop stick into melted chocolate, then insert into the center of each cake ball.
Return the cake pops to the refrigerator for 30–45 minutes or freeze for 20–30 minutes until firm.
Reheat the chocolate wafers if necessary. Dip each cake pop fully into the melted chocolate until coated.
Let excess chocolate drip off, then immediately decorate with sprinkles before the coating hardens.
Place the coated cake pops back onto parchment paper and allow them to set completely at room temperature or in the refrigerator for a firmer shell.
Serve and enjoy!
Notes
Chilling the cake pops before dipping helps prevent cracking and keeps them secure on the sticks. Use different colored sprinkles or candy melts for holidays and themed parties. Store cake pops in an airtight container in the refrigerator for up to 5 days.