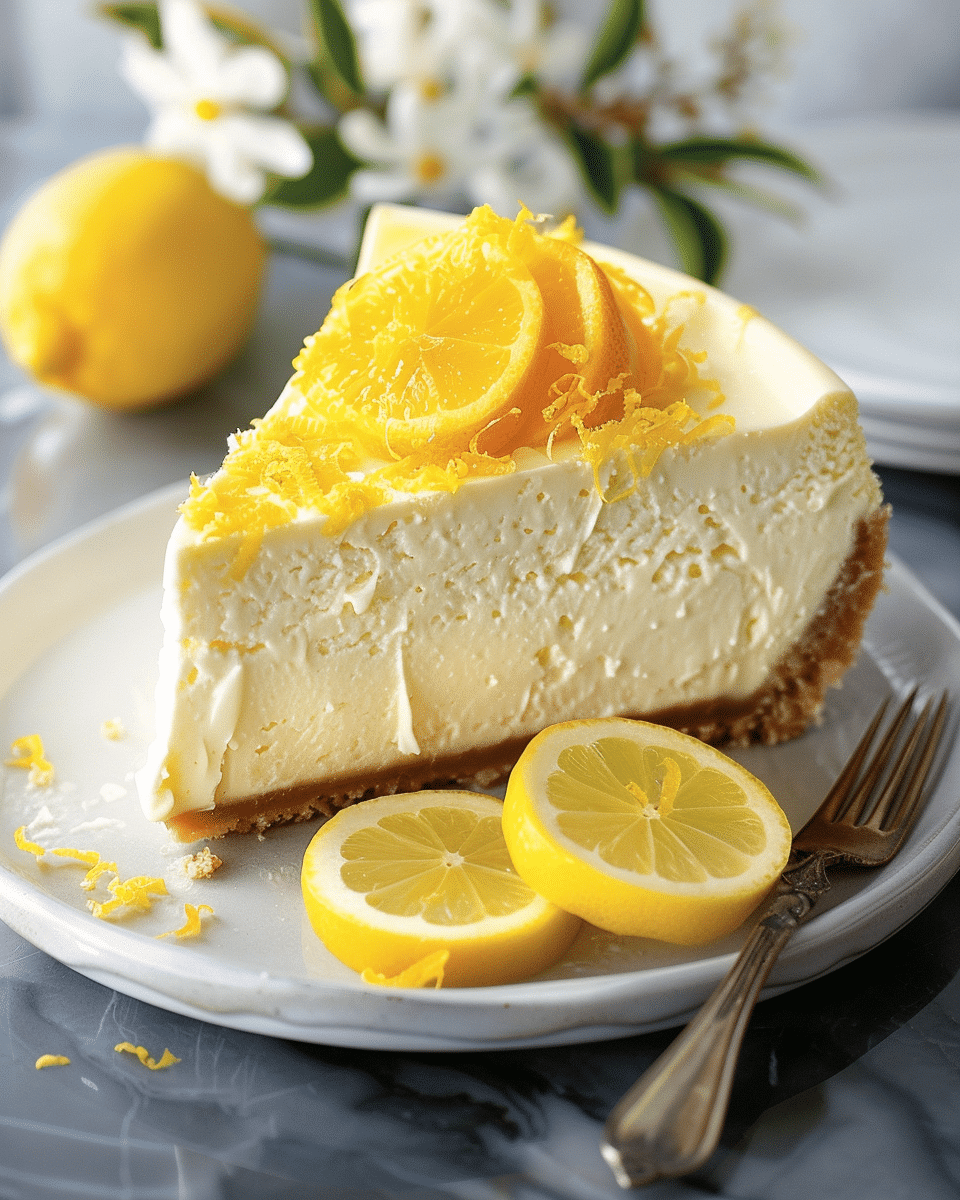
I enjoy this cheesecake because every layer brings something special. The buttery biscuit crust adds a satisfying crunch, while the creamy filling melts smoothly with a fresh lemon kick.
I also appreciate how impressive it looks once finished. It’s the kind of dessert I like to serve for celebrations, and it always feels like a centerpiece on the table.
Ingredients
(Here’s a tip: Check out the full list of ingredients and measurements in the recipe card below.)
200 g butter, melted
200 g tea biscuits, finely ground
750 g cream cheese, at room temperature
200 g crème fraîche
3 g lemon zest
20 ml lemon juice
125 g granulated sugar
35 g cornstarch
3 large eggs
125 g lemon curd
100 g white chocolate, chopped
40 ml heavy cream
35 g lemon curd
whipped cream
lemon slices
fresh mint leaves
Directions
I start by preparing the crust. I mix the melted butter with the finely ground biscuits until fully combined, then press the mixture firmly into the bottom of a lined springform pan. I place it in the refrigerator to chill while I prepare the filling.
For the filling, I blend the cream cheese, crème fraîche, lemon zest, lemon juice, sugar, and cornstarch until smooth. I gently fold in the eggs one at a time, making sure not to overmix.
I pour half of the filling over the crust, add a swirl of lemon curd, then cover it with the remaining filling. I smooth the top to create an even surface.
I bake the cheesecake in a preheated oven at 125°C for about 60–65 minutes, until it is set but still slightly wobbly in the center. After baking, I turn off the oven and let it cool inside for about an hour to help prevent cracks.
Next, I prepare the topping by heating the cream until just about to boil, then pouring it over the chopped white chocolate. I let it sit briefly before stirring it into a smooth ganache. I spread this over the cooled cheesecake and add decorative swirls with lemon curd.
I refrigerate the cheesecake for several hours, ideally overnight, so it sets completely.
Before serving, I garnish with whipped cream, lemon slices, and fresh mint leaves.
Servings and Timing
This recipe makes about 10 to 12 servings.
I usually spend around 30–40 minutes on preparation, 60–65 minutes baking, plus at least 6 hours of chilling time, though I prefer leaving it overnight for the best texture.
Variations
I like experimenting with the crust by using digestive biscuits or graham crackers instead of tea biscuits.
For a stronger citrus flavor, I sometimes add a bit of lime zest along with the lemon. I can also skip the white chocolate topping and keep it simple with just lemon curd for a lighter finish.
Storage/Reheating
I store the cheesecake in the refrigerator, covered, for up to 4–5 days.
I don’t reheat cheesecake, but I let it sit at room temperature for a few minutes before serving so the texture becomes softer and creamier.
I can also freeze slices individually and thaw them in the refrigerator when needed.
FAQs
How do I prevent cracks in my cheesecake?
I let the cheesecake cool gradually in the oven after baking and avoid overmixing the batter, which helps keep the texture smooth.
Can I make this cheesecake ahead of time?
Yes, I prefer making it a day in advance since it needs several hours to chill and set properly.
Can I skip the white chocolate topping?
Yes, I can leave it out or replace it with extra lemon curd or whipped cream for a simpler version.
What kind of pan should I use?
I use a springform pan because it makes it much easier to remove the cheesecake cleanly.
How do I get clean slices?
I slice the cheesecake with a warm knife, wiping it clean between each cut for neat pieces.
Conclusion
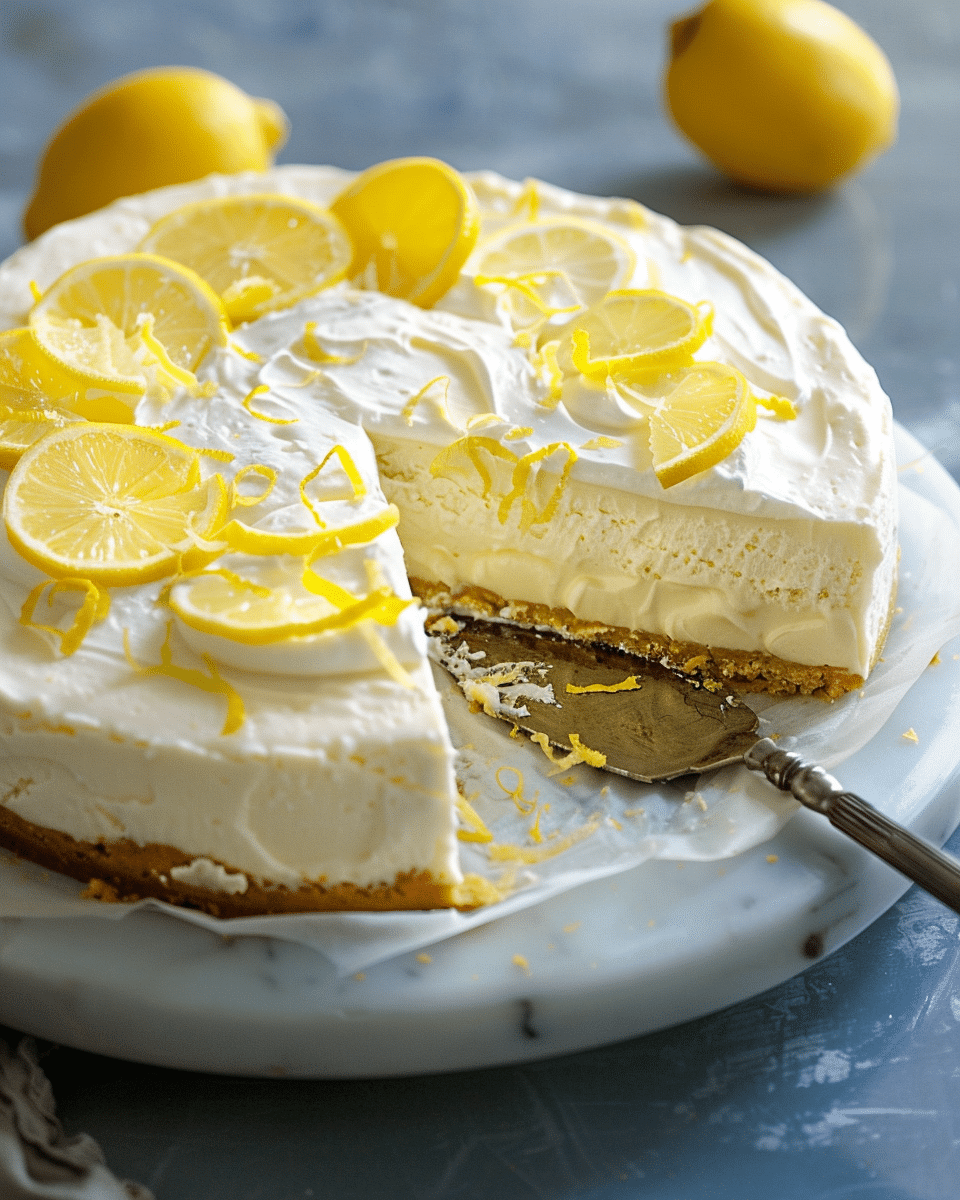
This Ultimate Creamy Lemon Cheesecake is a perfect blend of tangy and sweet flavors. I love how smooth and refreshing it tastes while still feeling rich and satisfying. It’s a dessert I turn to whenever I want something impressive, comforting, and full of bright citrus flavor.
A rich and creamy lemon cheesecake with a buttery crust and white chocolate topping perfectly balanced with fresh citrus flavor
Author:Sarah
Prep Time:30 minutes
Cook Time:65 minutes
Total Time:~12 hours (including chilling)
Yield:10–12 servings
Category:Dessert
Method:Baking
Cuisine:International
Diet:Vegetarian
Ingredients
For the Crust:
200 g butter, melted
200 g tea biscuits, finely ground
For the Cheesecake Filling:
750 g cream cheese (room temperature)
200 g crème fraîche
3 g lemon zest
20 ml lemon juice
125 g granulated sugar
35 g cornstarch
3 large eggs
For the Filling Layer:
125 g lemon curd
For the Topping:
100 g white chocolate, chopped
40 ml heavy cream
35 g lemon curd
For Garnish:
Whipped cream
Lemon slices
Fresh mint leaves
Instructions
Prepare the crust: Mix melted butter with ground biscuits until combined. Press into a lined 24 cm springform pan. Chill in the fridge.
Make the filling: Blend cream cheese, crème fraîche, lemon zest, lemon juice, sugar, and cornstarch until smooth. Gently fold in eggs one at a time.
Assemble: Pour half the filling over the crust. Add spoonfuls of lemon curd and swirl lightly. Pour remaining filling and smooth the top.
Bake: Preheat oven to 125°C (257°F). Bake for 60–65 minutes until set but slightly wobbly in the center. Turn off oven and let cool inside for 1 hour.
Prepare topping: Heat cream until just simmering, pour over white chocolate, let sit, then stir until smooth. Spread over cooled cheesecake and swirl with lemon curd.
Chill: Refrigerate overnight for best texture.
Serve: Garnish with whipped cream, lemon slices, and mint. Slice with a warm knife for clean cuts.
Notes
Avoid overmixing after adding eggs to prevent cracks.
Cooling slowly in the oven helps maintain a smooth top.
Overnight chilling enhances flavor and texture.
For extra shine, add a thin layer of lemon curd before serving.


