I find this method incredibly satisfying because it transforms a simple cake into something eye-catching without requiring complicated decorating skills. I can control the drip length, texture, and finish depending on how I apply it. It’s also versatile since I can use different types of chocolate or even flavored spreads. Once I get the consistency right, the result always looks polished and impressive.
Ingredients
(Here’s a tip: Check out the full list of ingredients and measurements in the recipe card below.)
chocolate (chopped)
butter
cream (if making ganache variation)
Directions
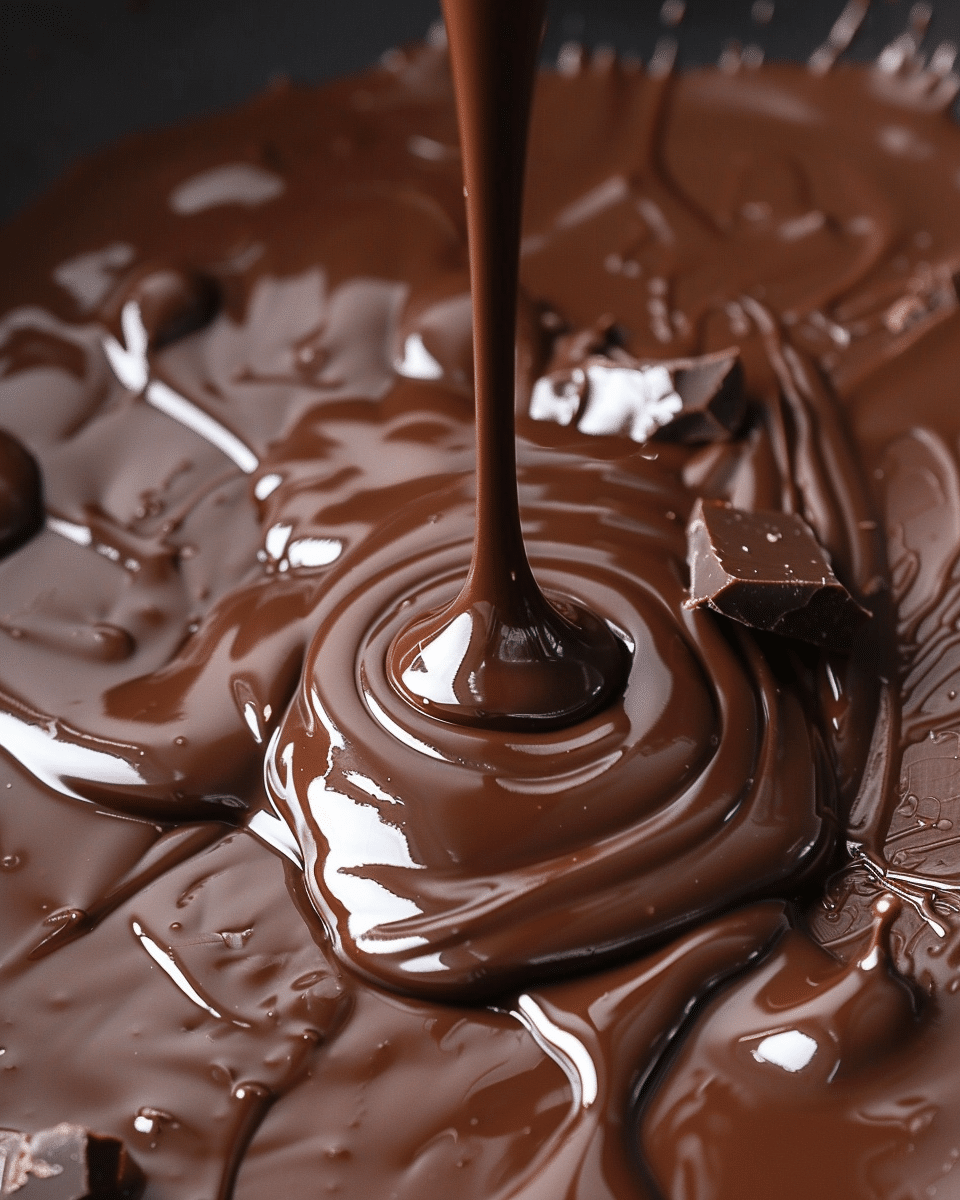
I start by breaking the chocolate into small pieces and placing it in a microwave-safe bowl. I add the butter and heat everything in 30-second intervals, stirring between each round until the mixture is fully melted and smooth.
I let the mixture sit for about 5 minutes so it cools slightly. This step helps me avoid a runny drip later.
Once cooled, I transfer the mixture into a piping bag and cut a small hole at the tip. If I prefer, I can also pour the ganache directly.
I take my chilled cake out of the fridge and begin at the edge, gently squeezing the piping bag to let the chocolate drip down the sides. I hold it briefly in each spot to control the length of each drip, then continue around the cake.
After finishing the edges, I pour or pipe the remaining ganache onto the top and smooth it out with a spatula if needed.
Servings and timing
I usually prepare enough drip for one standard 8-inch cake, which serves about 8–12 slices. The preparation takes around 10 minutes, with an additional 5 minutes for cooling and about 10 minutes for decorating. I also allow 15–20 minutes for the drip to set properly.
Variations
I sometimes switch things up by using white chocolate for a lighter look or dark chocolate for a richer finish. If I want a different flavor, I use caramel or a spread like Biscoff, warming it slightly until it becomes pourable. I can also adjust the thickness by adding a bit more cream to create longer drips or less for a thicker finish.
storage/reheating
I keep the finished cake at room temperature for up to 2–3 days if the environment is cool. If I refrigerate it, it lasts up to 5 days. When I take it out of the fridge, I let it sit at room temperature before serving so the texture softens. I avoid reheating the drip once it’s on the cake, as it can ruin the finish.
FAQs
How long will a drip cake last?
I find that it stays fresh for 2–3 days at room temperature and up to 5 days in the fridge.
What is the best frosting for a drip cake?
I always use buttercream because it firms up nicely when chilled and helps control the drips.
Can I just use melted chocolate for a drip cake?
I avoid using plain melted chocolate because it’s too thick and sets too hard. I prefer mixing it with cream to create a smooth ganache.
How do I make a Biscoff drip?
I gently warm Biscoff in the microwave, stir it until smooth, let it cool slightly, and then apply it just like ganache.
Can I use glacé icing for a drip cake?
I can use it, but I notice it’s thinner and more transparent, so it doesn’t give the same rich and glossy effect.
Conclusion
I find that mastering the chocolate drip comes down to consistency and temperature. When I take the time to cool the ganache properly and apply it धीरे and carefully, I always end up with a beautiful finish. With a bit of practice, this technique becomes an easy way to elevate any homemade cake.
Learn how to create a smooth glossy chocolate drip for cakes with simple ganache tips perfect for beginners and cake decorating lovers
Author:Sarah
Prep Time:10 minutes
Cook Time:2 minutes
Total Time:12 minutes
Yield:Enough for 1 standard 8–9 inch cake
Category:Dessert
Method:Melting
Cuisine:International
Diet:Vegetarian
Ingredients
200g chocolate (dark, milk, or white), chopped
100ml heavy cream
1 tbsp butter (optional, for extra shine)
Instructions
Place the chopped chocolate in a microwave-safe bowl.
Add the cream and butter.
Heat in 30-second bursts, stirring between each, until fully melted and smooth.
Let the ganache sit for about 5 minutes to cool slightly.
Transfer the ganache into a piping bag (or use a spoon/squeeze bottle).
Remove your chilled cake from the fridge.
Starting at the edge, gently apply the ganache to create drips down the sides.
Continue around the cake edge evenly.
Pour or spread the remaining ganache on top and smooth with a spatula if needed.
Chill the cake for 15–20 minutes to set the drip before decorating further.
Notes
Temperature is key: Ganache should be slightly warm but not hot.
Test first: Try a drip on the side of a bowl before applying to the cake.
Chill your cake: A cold cake ensures clean, defined drips.
Adjust consistency:
Too thick → add a little warm cream
Too thin → let it cool longer


