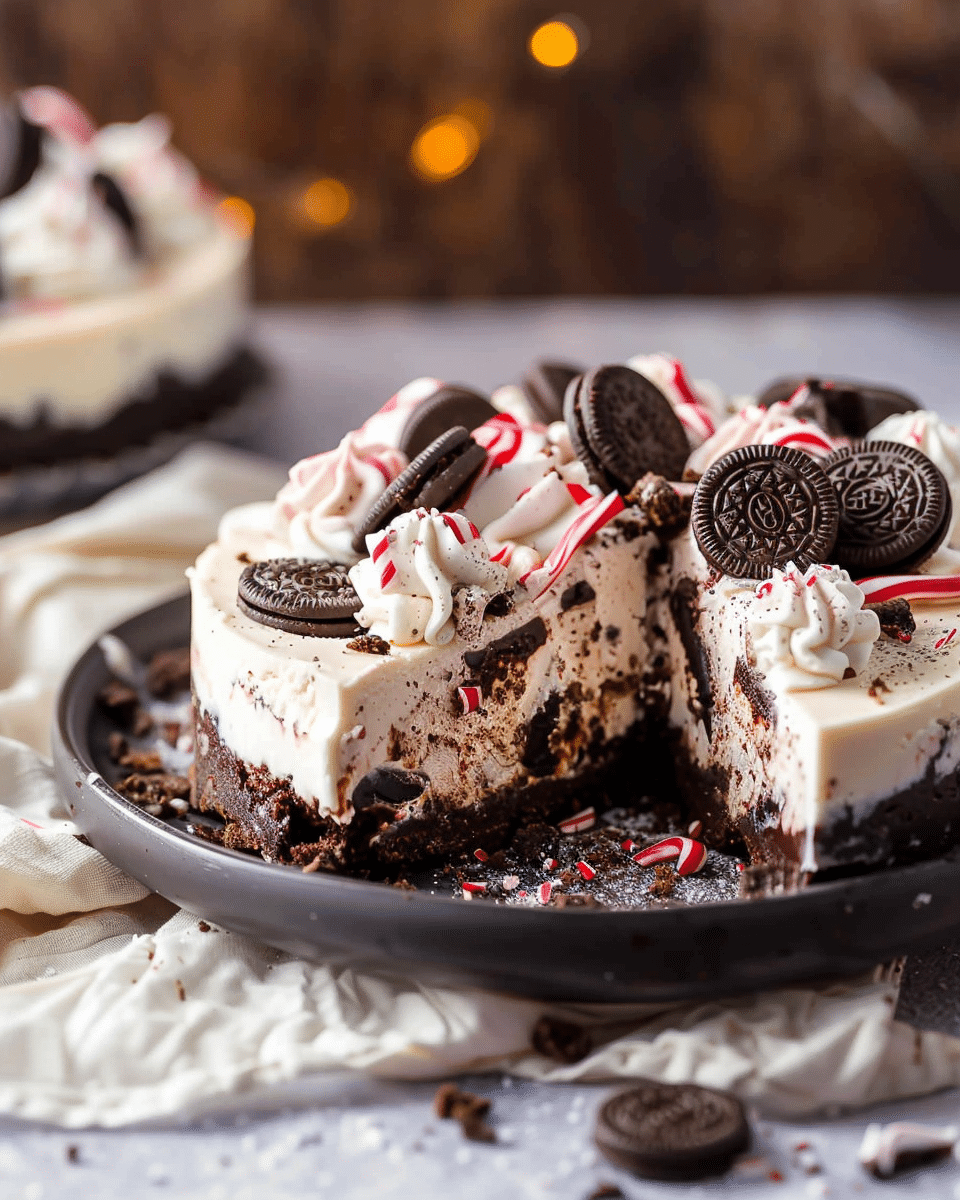
I love this recipe because it combines everything I want in a holiday dessert—cool, creamy texture, peppermint crunch, and loads of chocolate. It’s easy to make ahead, doesn’t need any baking, and looks stunning on the table with that tall Oreo crust and candy topping. Whether I’m hosting or just need to bring dessert, this cheesecake is always a hit.
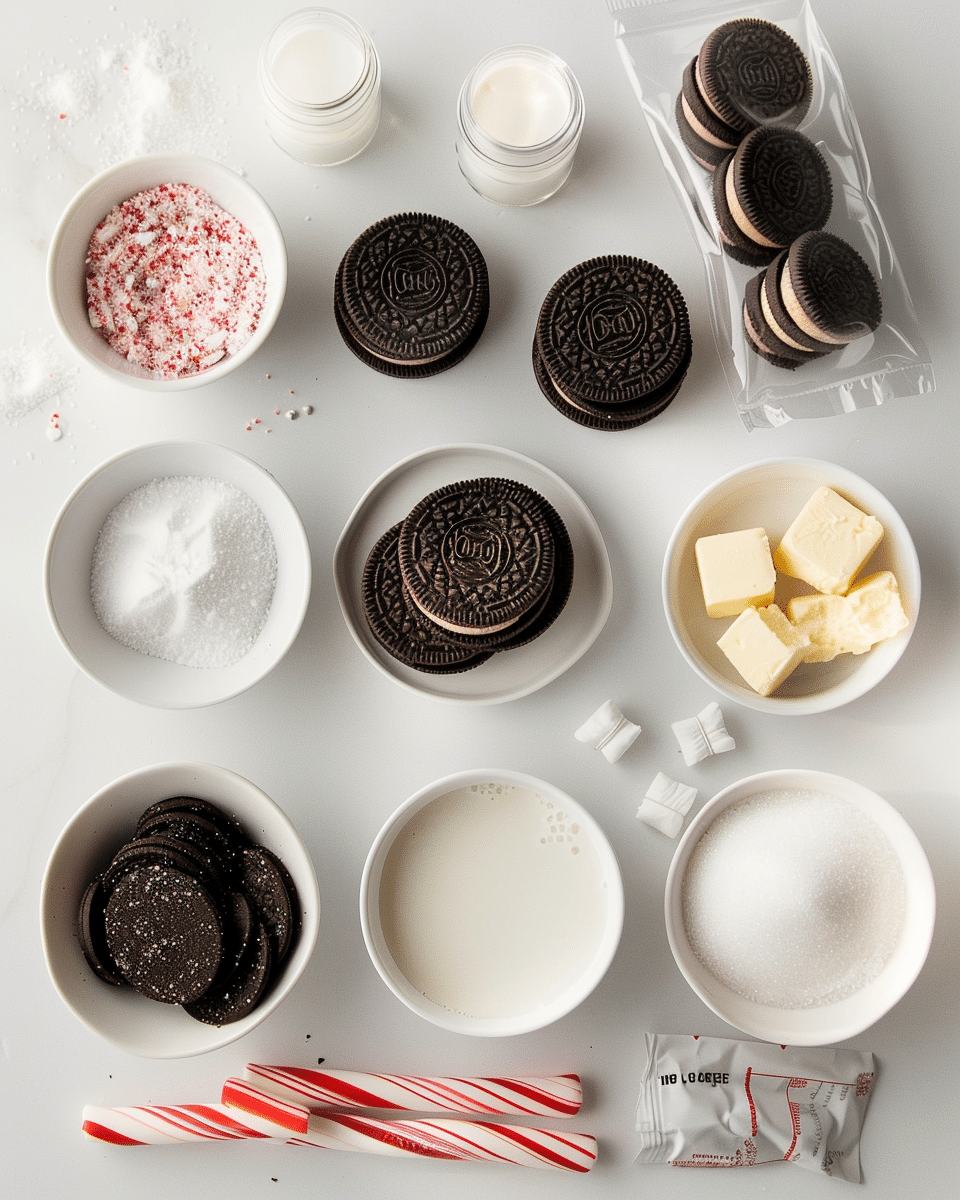
Ingredients
(Here’s a tip: Check out the full list of ingredients and measurements in the recipe card below.)
Crust
1½ cups Oreo cookie crumbs
⅓ cup melted butter
Whole Oreos (for the cookie border)
Cheesecake Filling
4 blocks (8 oz each) cream cheese, softened
4 tablespoons sugar
1 cup chopped Oreos
1 teaspoon peppermint extract
2 cups heavy cream
Topping
Hot fudge sauce, for drizzling
Crushed Oreos
Crushed peppermints
Whipped cream
Directions
1. Make the Crust
I melt the butter and stir it into the Oreo crumbs until evenly coated.
I press the mixture into the bottom of an 8-inch springform pan, using the back of a spoon to pack it down tightly. I take the crumbs slightly up the sides for a clean, sturdy edge.
I line the inside edge of the pan with whole Oreos standing upright to create a dramatic cookie border. Then I set the crust aside.
2. Make the Filling
In a large mixing bowl, I beat the softened cream cheese, sugar, crushed Oreos, and peppermint extract until smooth.
I pour in the heavy cream and continue beating until the filling becomes light, fluffy, and holds soft peaks.
3. Assemble and Chill
I spoon the cheesecake filling into the crust, smoothing the top with a spatula.
I cover the pan and refrigerate the cheesecake for at least 6 hours (or freeze it for 4 hours) until fully set.
4. Garnish and Serve
Just before serving, I drizzle warm hot fudge over the top, then sprinkle on crushed peppermints and Oreo crumbs.
I slice and serve with a swirl of whipped cream and, for extra flair, a whole Oreo on top of each slice.
Servings and Timing
Yield: 8 servings
Prep Time: 30 minutes
Chill Time: 6 hours
Total Time: 6 hours 30 minutes
Variations
Chocolate Mint Twist: I use mint Oreos instead of regular for extra peppermint flavor.
Mini Cheesecakes: I divide the crust and filling into cupcake liners in a muffin tin for single-serve treats.
White Chocolate Drizzle: I melt white chocolate and drizzle it over the top for an elegant finish.
Nut-Free Version: I skip the peppermint topping if serving guests with allergies and opt for just Oreos and fudge.
Gluten-Free: I use gluten-free chocolate sandwich cookies to make the crust.
Storage/Reheating
I store the cheesecake covered in the refrigerator for up to 4 days. For longer storage, I freeze it (without toppings) for up to 1 month and thaw it in the fridge overnight before serving. I always add whipped cream and crushed toppings fresh for the best texture and flavor.
FAQs
Can I make this cheesecake ahead of time?
Yes, I actually prefer making it a day in advance so it sets perfectly and the flavors have time to come together.
Do I have to use a springform pan?
A springform pan works best for easy removal, but I can also use a deep pie dish or square pan—just expect slightly different slicing.
What kind of peppermint extract should I use?
I use pure peppermint extract, not mint extract, to get that true candy cane flavor.
Can I use Cool Whip instead of heavy cream?
Yes, I can fold in 2 cups of Cool Whip in place of the whipped heavy cream, but the texture may be slightly softer.
Is this cheesecake freezer-friendly?
Absolutely. I freeze it after assembling (but before adding toppings) and then thaw it in the fridge for several hours or overnight before serving.
Conclusion
This No Bake Peppermint Oreo Cheesecake is pure holiday joy in dessert form—creamy, chocolatey, minty, and no oven required. I love how festive it looks with the crushed peppermints and whipped cream swirls, and how simple it is to prepare ahead. Whether I’m hosting a holiday gathering or just making something fun for the family, this cheesecake always brings the Christmas magic.


