
Why You’ll Love This Recipe
I keep using this method because it doesn’t require a dehydrator and still gives consistent results. I like how the slow oven drying preserves the color and shape of the oranges while filling the kitchen with a warm citrus aroma. It’s an easy project that feels both practical and creative.
 Ingredients
(Here’s a tip: Check out the full list of ingredients and measurements in the recipe card below.)
6–8 medium navel oranges
Directions
I start by preheating the oven to 225°F and lining three baking sheets with parchment paper. I slice the oranges thinly, aiming for uniform slices between 1/8 and 1/4 inch thick so they dry evenly.
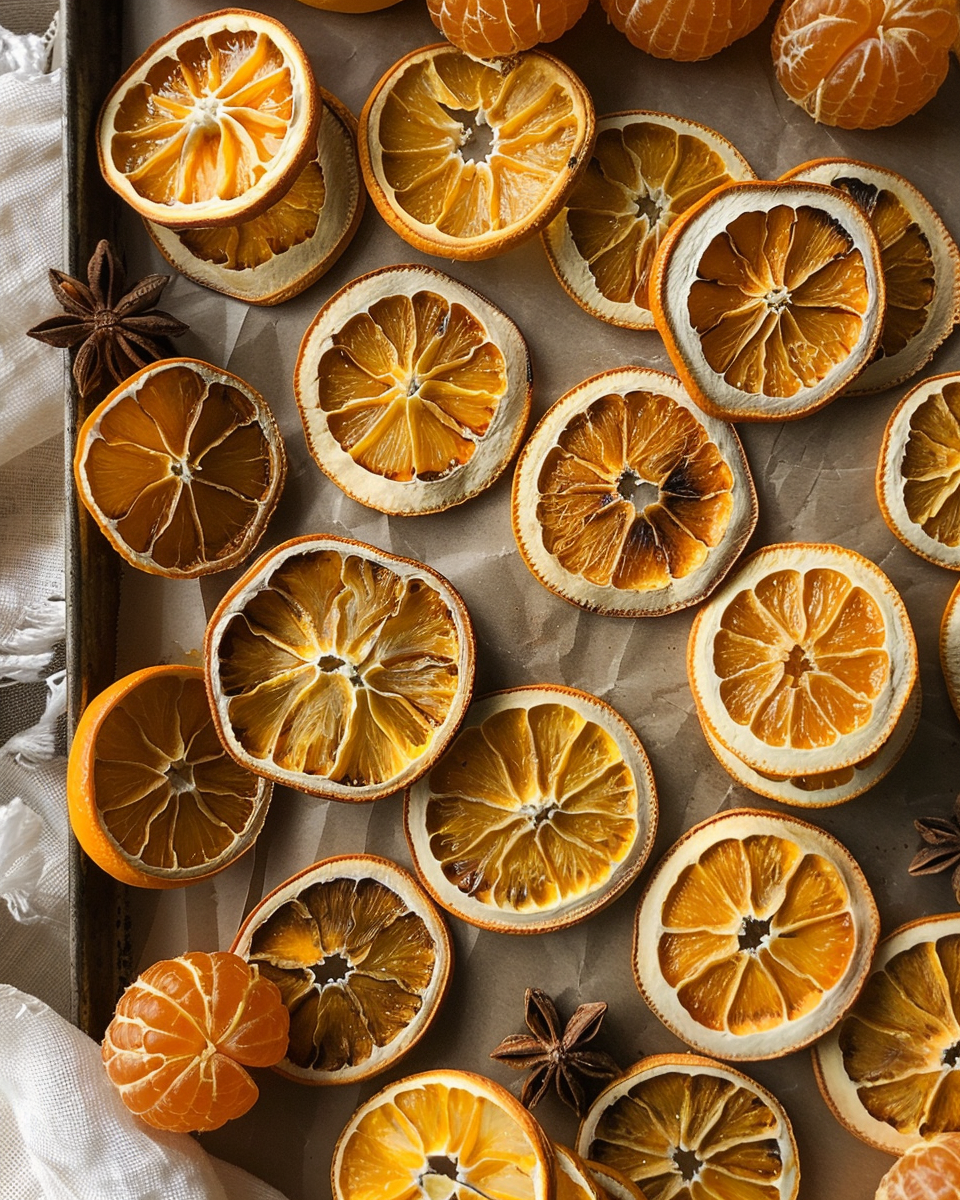
I arrange the slices in a single layer on the prepared baking sheets, making sure none overlap. I place them in the oven and bake for about 2 hours, rotating the pans halfway through.
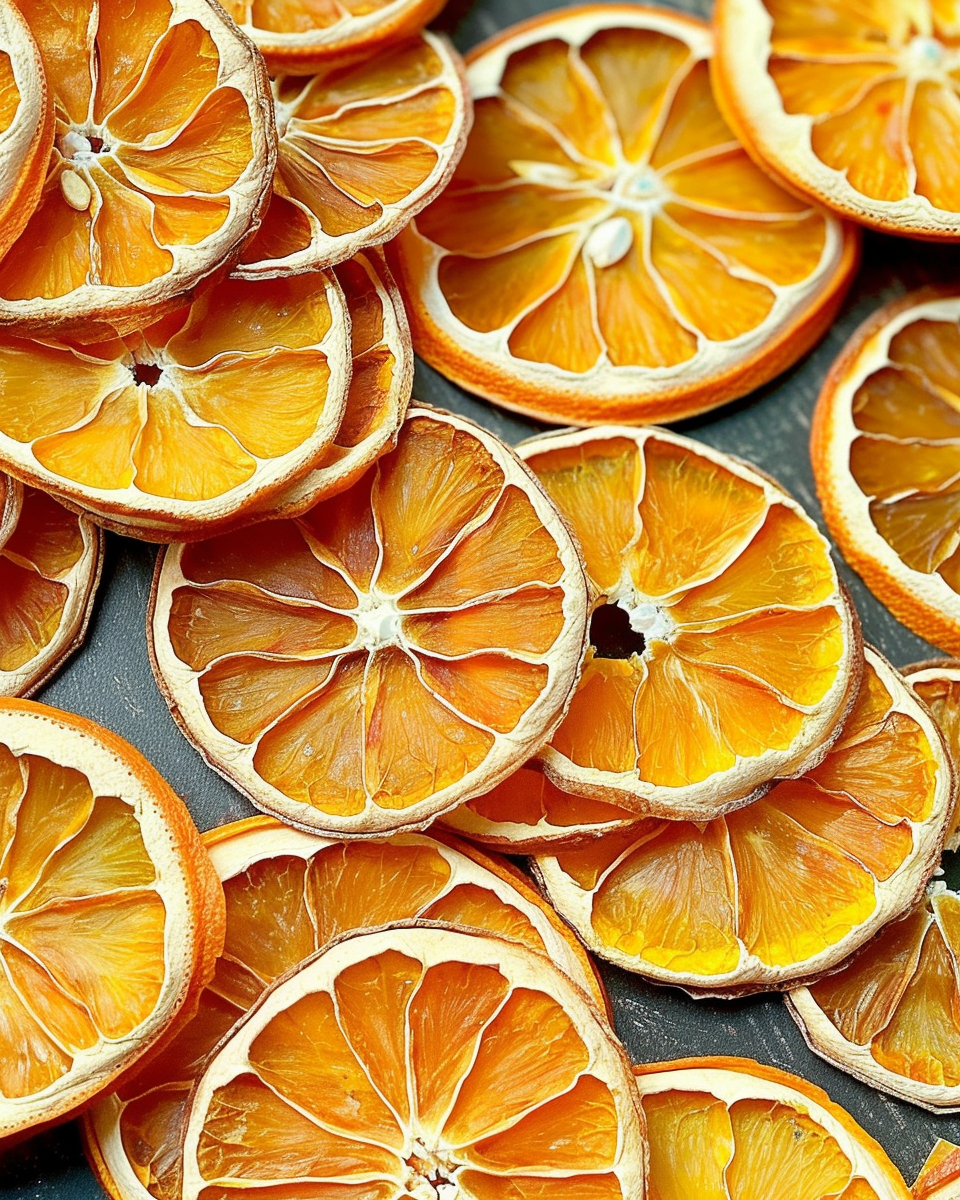
After 2 hours, I remove the trays and carefully flip each orange slice. I return them to the oven and continue baking for another 1 1/2 to 2 hours until the rinds feel slightly crisp and the centers are mostly dry. I let them cool completely, knowing they will continue to dry as they cool.
Servings and Timing
I usually dry about 8 oranges at a time. Prep takes around 10 minutes, baking takes about 4 hours, and the total time comes to roughly 4 hours and 10 minutes.
Variations
I sometimes use blood oranges or Cara Cara oranges for more color variety. When I want extra fragrance, I sprinkle a small amount of cinnamon on the slices before baking. I’ve also dried lemon and grapefruit slices using the same method with great results.
Storage/Reheating
I store dried orange slices in an airtight container at room temperature for up to 6 months. I don’t reheat them, but if they ever feel slightly soft, I place them back in a low oven for a short time to refresh them.
FAQs
Do I need to peel the oranges first?
No, I leave the peel on because it helps the slices hold their shape and adds visual appeal.
Why should the slices be uniform?
I slice them evenly so they dry at the same rate and don’t burn or stay too moist.
Can I use a higher oven temperature?
I stick with a low temperature because higher heat can brown the oranges instead of drying them properly.
How do I know when they’re done?
I look for slightly crisp edges and mostly dry centers that finish drying as they cool.
What can I use dried orange slices for?
I use them for holiday decor, drink garnishes, gift wrapping accents, or simple citrus snacks.
 Conclusion
Making dried orange slices is one of my favorite simple kitchen projects because it’s easy, calming, and rewarding. I love how these slices last for months and can be used in so many ways, making them a beautiful and practical addition to my home.
How to Make Dried Orange Slices

5 Stars 4 Stars 3 Stars 2 Stars 1 Star
No reviews
Learn how to make beautiful dried orange slices in the oven with minimal prep, perfect for home decor, cocktails, baking, and festive garnishes.
- Author: Sarah
- Prep Time: 10 minutes
- Cook Time: 4 hours
- Total Time: 4 hours 10 minutes
- Yield: From 6–8 oranges
- Category: DIY, Snack, Garnish
- Method: Oven Drying
- Cuisine: American, Holiday
- Diet: Vegan
Ingredients
6–8 medium navel oranges
Instructions
Preheat oven to 225°F (110°C).
Slice oranges thinly (about 1/8 to 1/4 inch thick), keeping slices as uniform as possible for even drying.
Arrange orange slices in a single layer on parchment-lined baking sheets.
Bake for 2 hours, rotating baking sheets halfway through.
Flip each slice over, then return to oven and bake for another 1 1/2 to 2 hours.
Oranges are done when rinds are crisp and centers are mostly dry (they will finish drying as they cool).
Cool completely before storing in an airtight container for up to 6 months.
Notes
Best results come from uniform slicing—use a mandoline if possible.
Keep oven door slightly ajar to release moisture if needed.
Use for garlands, wreaths, cocktails, gift wrapping, or snacking!
Blood oranges and Cara Cara oranges also work beautifully.


