I enjoy how easy it is to make a big batch all at once. Instead of shaping individual burgers, I bake the beef as one layer, which saves time and effort.
I also love the flavor combination. The sweetness of the Hawaiian rolls pairs perfectly with the savory beef, melted cheese, and tangy pickles. The buttery toasted buns and caramelized onions take everything to another level.
Ingredients
(Here’s a tip: Check out the full list of ingredients and measurements in the recipe card below.)
2 lbs 80/20 ground beef 12 pack Hawaiian rolls 11 slices Colby jack cheese or American cheese 1 large sweet onion, diced 24 dill pickles 6 tablespoons butter 1 teaspoon salt 1 teaspoon cracked pepper
For the burger sauce:
1/2 cup mayonnaise 1.5 tablespoons ketchup 1 tablespoon yellow mustard 2 teaspoons pickle juice 1/4 teaspoon cayenne pepper
Directions
I start by preheating the oven to broil. I slice the Hawaiian rolls horizontally and place them cut side up on a lined baking sheet. Then I brush the insides with melted butter and broil them for a few minutes until they turn golden brown, keeping a close eye so they do not burn.
Next, I reduce the oven temperature to 350°F.
In a large bowl, I mix the ground beef with salt and cracked pepper. I press the seasoned beef evenly into a 9×13 baking dish and bake it for about 20 minutes.
While the beef cooks, I sauté the diced onions in a pan with butter over low heat until they become soft and caramelized, which takes about 15 minutes.
Once the beef is done, I drain any excess liquid. Then I assemble the sliders by placing pickles over the bottom buns. I carefully transfer the cooked beef layer on top, followed by a double layer of cheese.
I spread the sautéed onions evenly over the cheese and place the top buns back on.
I brush the tops with melted butter and optionally sprinkle sesame seeds. Then I return the sliders to the oven and bake for another 15 minutes until the cheese melts and everything is heated through.
Servings and timing
I usually get about 12 sliders from this recipe.
It takes me around 15 minutes to prep and about 35 minutes to cook, making the total time approximately 50 minutes.
Variations
I like to customize these sliders depending on what I am craving. Sometimes I add crispy bacon or sliced tomatoes for extra flavor.
I also enjoy switching up the cheese. Pepper jack adds a bit of heat, while gouda gives a smoky touch. When I want a lighter option, I use ground turkey or chicken instead of beef.
For extra flavor, I mix up the sauce by adding more spice or a touch of sweetness.
Storage/reheating
I store leftover sliders in an airtight container in the refrigerator for up to 3 days.
To reheat, I place them in the oven at a low temperature until warmed through. This helps keep the bread soft while melting the cheese again. I can also use the microwave for convenience, though the texture is best when reheated in the oven.
FAQs
Can I make these sliders ahead of time?
I can prepare the components ahead and assemble them just before baking. This makes it easier when I am hosting or short on time.
Can I use a different type of bread?
I can use other slider buns, but I like Hawaiian rolls because they add a slight sweetness that pairs well with the savory filling.
How do I keep the sliders from getting soggy?
I toast the buns first and drain the beef well after cooking to prevent excess moisture.
Can I freeze these sliders?
I can freeze them after baking. I wrap them היט and reheat them in the oven when ready to eat.
What toppings work best?
I like using pickles, onions, and cheese, but I can also add bacon, tomatoes, or different sauces to change the flavor.
Conclusion
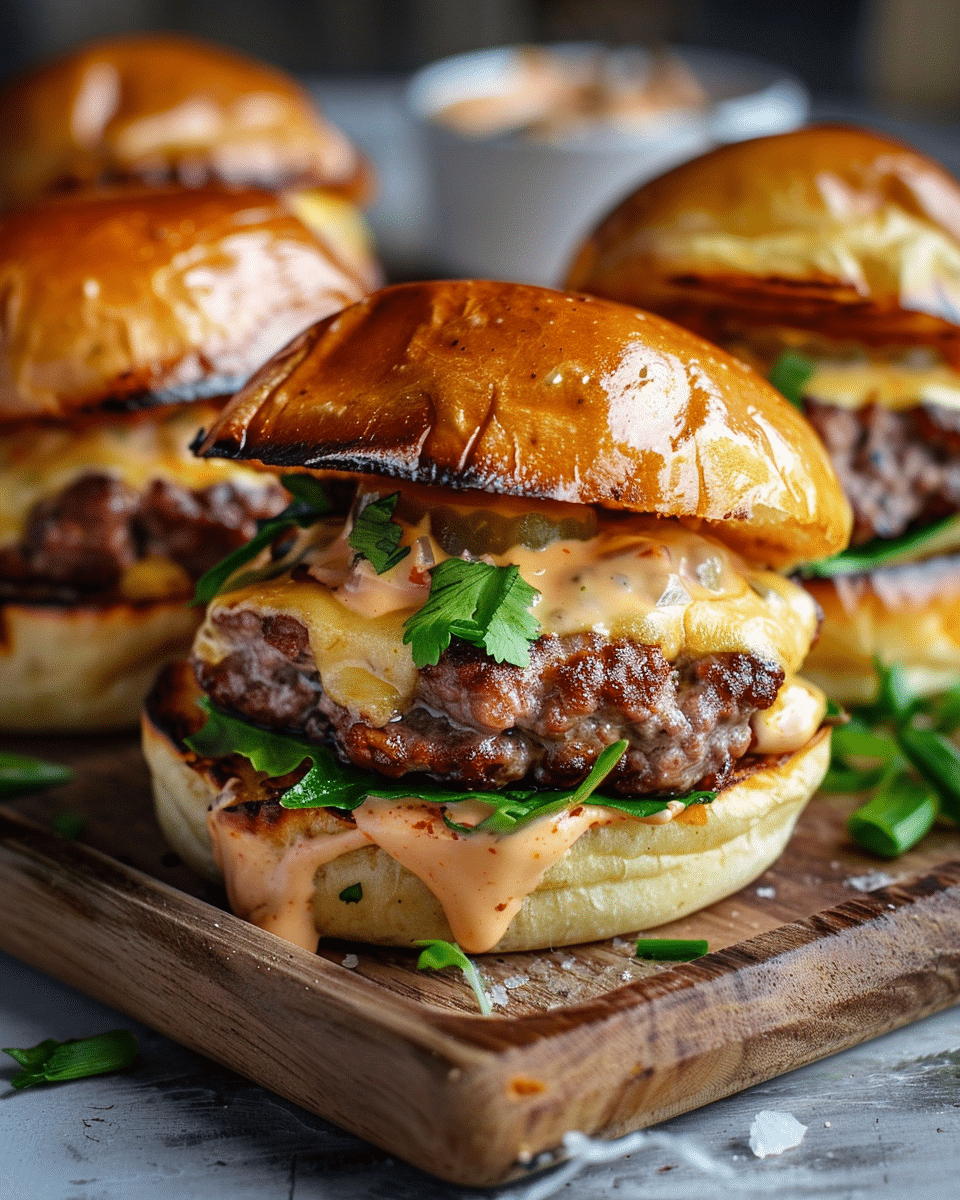
I find these Hawaiian Roll Cheeseburger Sliders to be one of the most crowd-pleasing meals I can make. They are easy, flavorful, and perfect for sharing. With their juicy filling, melty cheese, and soft buttery rolls, they always bring a fun and satisfying touch to any table.
The Best Hawaiian Roll Cheeseburger Sliders are loaded with seasoned beef, melty cheese, and a creamy burger sauce baked into soft Hawaiian rolls for the ultimate crowd pleasing meal.
Author:Sarah
Prep Time:15 minutes
Cook Time:35 minutes
Total Time:50 minutes
Yield:12 sliders
Category:Dinner
Method:Baked
Cuisine:American
Ingredients
For the Sliders
2 lbs 80/20 ground beef
12 Hawaiian rolls (1 pack)
11 slices Colby Jack or American cheese
1 large sweet onion, diced
24 dill pickles
6 tablespoons butter, divided
1 teaspoon salt
1 teaspoon cracked black pepper
For the Burger Sauce
1/2 cup mayonnaise
1 1/2 tablespoons ketchup
1 tablespoon yellow mustard
2 teaspoons pickle juice
1/4 teaspoon cayenne pepper
Instructions
Preheat oven to broil.
Slice the Hawaiian rolls horizontally and place them cut-side up on a baking sheet.
Melt 4 tablespoons butter and brush onto the inside of the rolls. Broil for 3–4 minutes until golden brown (watch closely).
Reduce oven temperature to 350°F (175°C).
In a large bowl, mix ground beef with salt and pepper.
Press the beef evenly into a 9×13-inch baking dish. Bake for 20 minutes.
While the beef cooks, sauté diced onions in 1 tablespoon butter over low heat until caramelized, about 15 minutes.
Remove cooked beef and drain excess juices.
Assemble sliders: place pickles over the bottom buns, then carefully add the cooked beef layer.
Top with a double layer of cheese slices, followed by sautéed onions.
Place the top buns over the sliders.
Brush tops with remaining 1 tablespoon melted butter and sprinkle with sesame seeds if desired.
Bake for 15 minutes, or until cheese is melted and sliders are heated through.
Notes
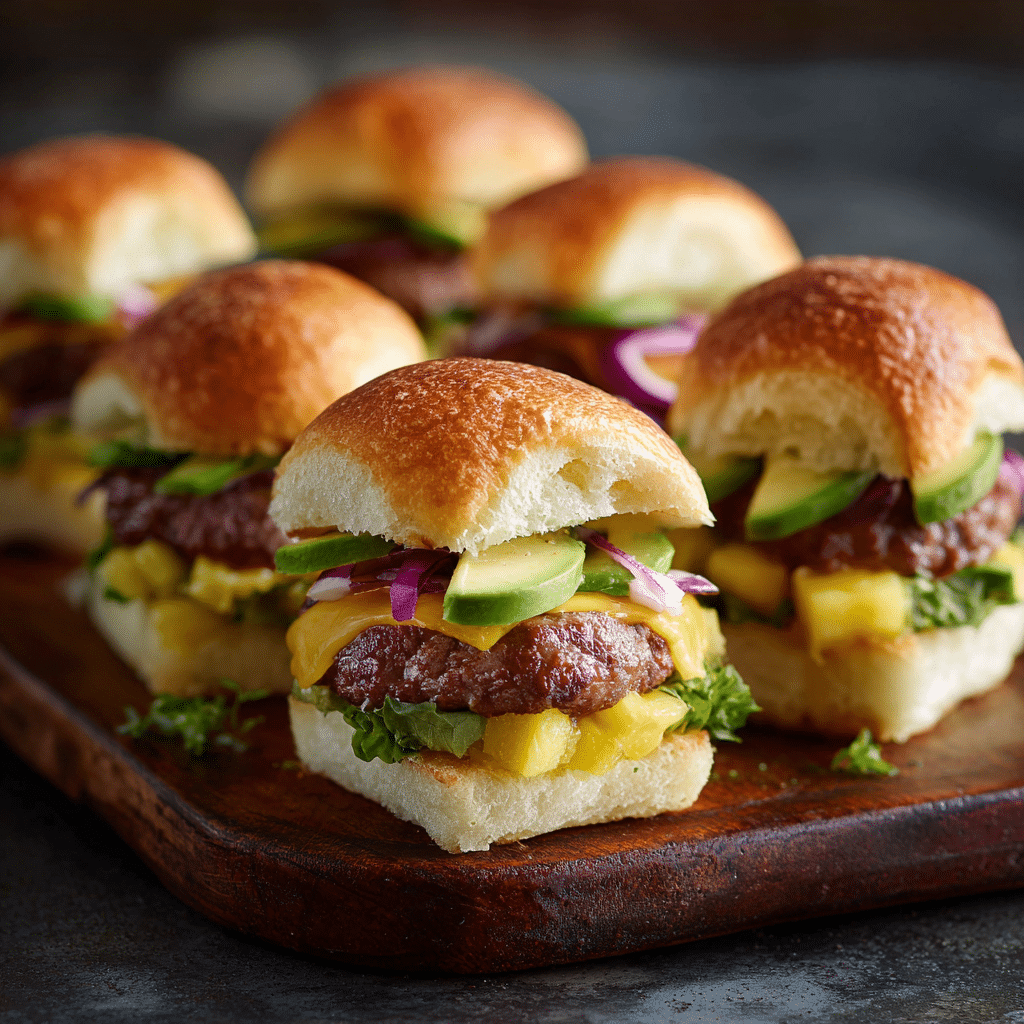
Add toppings like bacon, tomatoes, or pickled red onions for variation.
Serve lettuce on the side to keep sliders from getting soggy.
Substitute ground turkey or chicken for a lighter option.
Try different cheeses like pepper jack, gouda, or classic American.
Great for parties, meal prep, or game day snacks.


