Why You’ll Love This Recipe
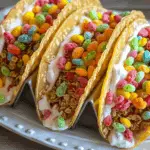
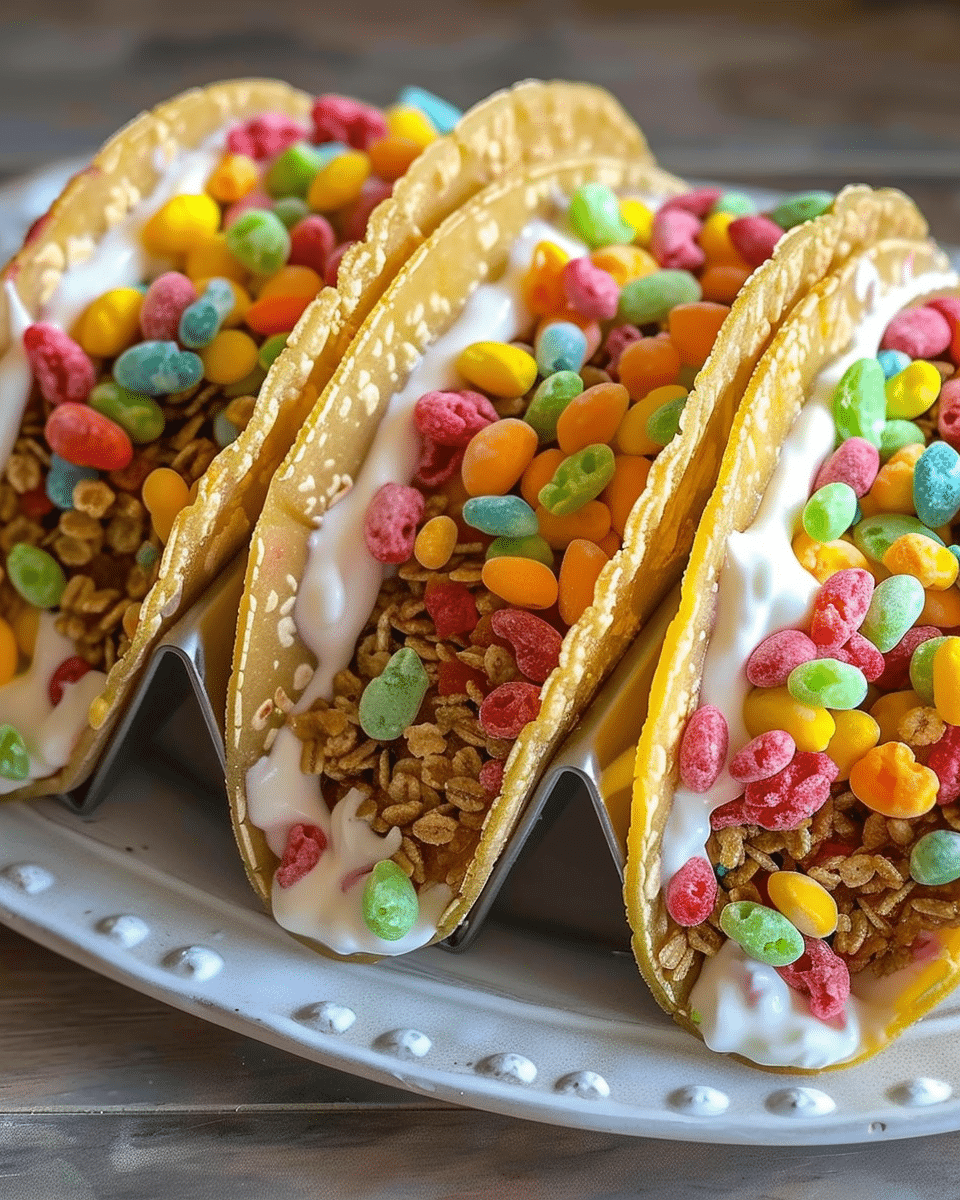
I like this recipe because it’s quick, no-bake, and guaranteed to get a “wow” from anyone I serve it to. The Fruity Pebbles create a crisp, rainbow-colored shell that contrasts perfectly with the creamy cheesecake filling. It’s easy to make ahead, totally customizable, and honestly just plain fun. Whether I’m feeding kids or adults, these dessert tacos never last long.
Ingredients
(Here’s a tip: Check out the full list of ingredients and measurements in the recipe card below.)
Shells:
-
3 cups Fruity Pebbles cereal
-
1/2 cup unsalted butter, melted
Filling:
-
8 ounces cream cheese, softened
-
1/2 cup powdered sugar, sifted
-
1 teaspoon pure vanilla extract
-
1 cup whipped cream
Garnish:
-
Additional Fruity Pebbles cereal
Directions
-
Make the Shells:
In a large bowl, I mix the Fruity Pebbles and melted butter until the cereal is fully coated and sticking together. -
Form the Shells:
I press the coated cereal mixture firmly into taco molds or use the back of a muffin tin to shape taco shells. It’s important to compact the mixture tightly so the shells hold their shape. Then I chill them in the fridge for at least 30 minutes to firm up. -
Prepare the Filling:
Using a hand mixer, I beat the softened cream cheese until it’s light and fluffy. I slowly add the powdered sugar and vanilla, mixing until everything is smooth. -
Fold in Whipped Cream:
With a spatula, I gently fold the whipped cream into the cream cheese mixture to keep it airy and soft. -
Assemble the Tacos:
Once the shells are fully chilled and set, I spoon or pipe the cheesecake filling into each shell. Then I sprinkle extra Fruity Pebbles on top for added crunch and color. -
Serve or Chill Again:
I serve them immediately for a soft and creamy texture, or refrigerate for another hour if I want a firmer bite.
Servings and timing
This recipe makes 8 dessert tacos and comes together in about 20 minutes—plus chilling time for the shells. It’s perfect for quick party prep or an easy weekend treat.
Variations
I like to switch up the flavors depending on the occasion. Sometimes I mix lemon zest into the cheesecake filling or fold in crushed strawberries for a fruity twist. If I want a chocolate version, I use Cocoa Pebbles instead of Fruity Pebbles. I’ve also tried adding mini chocolate chips or rainbow sprinkles for extra fun. For a holiday version, I use themed cereals to match the season.
Storage/Reheating
These cheesecake tacos are best served fresh or within a few hours of assembling. I store any leftovers in the fridge in an airtight container for up to 2 days. The cereal shells may soften over time, but the flavor stays great. I don’t recommend freezing them since the texture of the cereal and filling changes.
FAQs
How do I keep the cereal shells from falling apart?
I make sure to press the mixture firmly into the mold and chill them for at least 30 minutes. The butter helps bind everything together once cold.
Can I use store-bought whipped cream?
Yes, I use stabilized whipped topping or homemade whipped cream. Just make sure it’s not too runny—otherwise, the filling won’t hold up.
Can I make these ahead of time?
I prep the shells and the filling separately ahead of time, then assemble right before serving for the best texture.
What if I don’t have taco molds?
I flip a muffin tin upside down and mold the cereal mixture between the cups. It works surprisingly well for shaping.
Can I use a different cereal?
Yes! Rice Krispies, Cocoa Pebbles, or even Cornflakes work—just expect a slightly different texture and taste.

Conclusion
Fruity Pebbles Cheesecake Tacos are bright, fun, and ridiculously easy to make. Whether I’m celebrating something special or just want to bring a little joy to the table, these sweet taco treats always deliver. They’re colorful, creamy, and a total crowd-pleaser—no oven required.
Fruity Pebbles Cheesecake Tacos
5 Stars 4 Stars 3 Stars 2 Stars 1 Star
No reviews
A fun and colorful no-bake dessert made with crispy Fruity Pebbles cereal shells and creamy cheesecake filling—perfect for parties, kids, or anytime cravings.
- Author: Sarah
- Prep Time: 20 minutes
- Total Time: 20 minutes
- Yield: 8 servings (8 dessert tacos)
- Category: Desserts & Sweets
- Method: No-Bake
- Cuisine: American
- Diet: Vegetarian
Ingredients
For the Shells:
3 cups Fruity Pebbles cereal
1/2 cup unsalted butter, melted
For the Cheesecake Filling:
8 ounces cream cheese, softened
1/2 cup powdered sugar, sifted
1 teaspoon pure vanilla extract
1 cup whipped cream (or whipped topping)
For Garnish:
Additional Fruity Pebbles cereal
Instructions
Make the Shells
In a large mixing bowl, combine Fruity Pebbles cereal with melted butter. Stir well to coat all the cereal evenly.
Shape and Chill
Press the mixture firmly into taco-shaped molds or the back of a muffin tin to form shell shapes. Compact tightly. Refrigerate for at least 30 minutes until set.
Prepare the Cheesecake Filling
Using a hand mixer, beat the softened cream cheese until light and fluffy. Gradually mix in powdered sugar and vanilla extract until smooth.
Fold in Whipped Cream
Gently fold whipped cream into the cream cheese mixture using a spatula. Avoid overmixing to maintain a light texture.
Assemble the Tacos
Spoon the cheesecake filling into the chilled cereal taco shells. Garnish with extra Fruity Pebbles cereal on top for added crunch and color.
Serve
Serve immediately for a soft texture, or refrigerate filled tacos for 1 hour for a firmer set.
Notes
Chill the shells fully to prevent breaking while filling.
Use silicone taco molds or improvise with muffin tins to shape shells.
These are best enjoyed the same day for the crunchiest texture.

