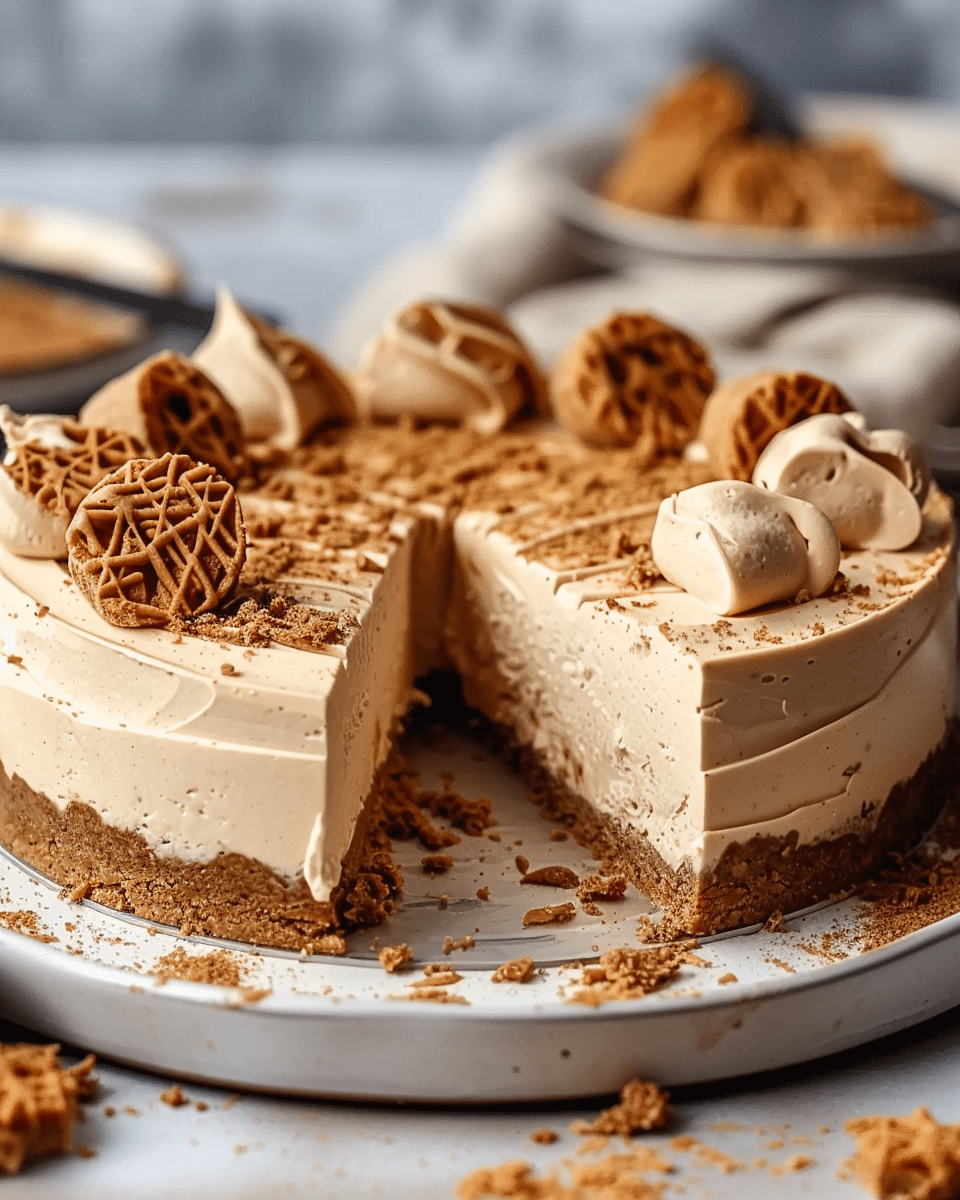
I love this cheesecake for how easy it is to make, yet how luxurious it feels when served. It’s creamy, packed with that warm, spiced Biscoff flavor, and doesn’t require any baking, which makes it perfect for warm days or busy schedules. The crust holds together beautifully, the filling is silky and full of flavor, and the optional toppings take it from simple to show-stopping.
Ingredients
(Here’s a tip: Check out the full list of ingredients and measurements in the recipe card below.)
For the Crust: 200 g Biscoff cookies, crushed 100 g unsalted butter, melted
For the Filling: 400 g cream cheese, softened 100 g powdered sugar 1 teaspoon vanilla extract (optional but recommended) 200 g Biscoff spread 300 ml heavy cream, cold
For the Topping (Optional): Extra Biscoff cookies, crushed (about 4 pieces) Melted Biscoff spread, for drizzling
Directions
Prepare the Crust I start by crushing the Biscoff cookies in a food processor until they become fine crumbs. Then I mix them with the melted butter until the texture feels like wet sand. I press this mixture firmly into the bottom of a 9-inch springform pan to form an even crust. I chill it in the refrigerator for at least 30 minutes while I prep the filling.
Make the Filling In a mixing bowl, I combine the softened cream cheese, powdered sugar, vanilla extract, and Biscoff spread. I beat the mixture with an electric mixer on medium speed until it’s smooth and creamy—about 2 to 3 minutes.
Whip the Cream In a separate bowl, I whip the cold heavy cream on high speed until stiff peaks form. This usually takes about 3 to 5 minutes.
Combine the Mixtures I gently fold the whipped cream into the Biscoff-cream cheese mixture using a spatula. The goal here is to keep it airy and light, so I don’t overmix.
Assemble and Chill I spoon the fluffy filling over the chilled crust, smoothing the top with an offset spatula. I cover the pan with plastic wrap and refrigerate the cheesecake for at least 6 hours, or overnight if I have time. This ensures the cheesecake sets properly.
Decorate and Serve When I’m ready to serve, I drizzle melted Biscoff spread over the top and sprinkle crushed Biscoff cookies for a bit of texture and visual appeal.
Servings and timing
This recipe makes 8 slices. Prep Time: 30 minutes Chill Time: 6 hours Total Time: 6 hours 30 minutes Calories per slice: 350 kcal
Variations
Sometimes I like to add a touch of cinnamon to the crust for even more warmth. I’ve also made this recipe using mini springform pans for individual servings—great for dinner parties. For a twist, I swirl a bit of melted dark chocolate into the filling before chilling, or top the cheesecake with whipped cream and caramel drizzle for added decadence.
Storage/reheating
I store the cheesecake covered in the fridge for up to 4 days. Since it’s no-bake and contains whipped cream, it should stay cold at all times. I don’t freeze this cheesecake, as the texture changes once thawed—it’s best enjoyed fresh and chilled.
FAQs
Can I make this cheesecake ahead of time?
Yes, I actually prefer to make it the day before serving. The longer chill time helps it firm up and lets the flavors meld together beautifully.
What if I don’t have a food processor?
No problem—I’ve placed the cookies in a zip-top bag and crushed them with a rolling pin. It works just as well for the crust.
Can I use cookie butter from a different brand?
Absolutely. While Biscoff spread is classic, any smooth cookie butter will work here. I just make sure it has the same thick, creamy consistency.
Why isn’t my filling firm enough?
It could be that the whipped cream wasn’t beaten to stiff peaks, or the cheesecake wasn’t chilled long enough. I always whip the cream well and give the cake at least 6 hours in the fridge.
Do I need to use a springform pan?
I recommend it for the cleanest presentation, but I’ve used a deep pie dish before too—it works, I just serve it straight from the dish instead of lifting it out.
Conclusion
This No Bake Biscoff Cheesecake is one of those desserts that always delivers. It’s creamy, rich, and full of flavor, but still light enough to leave everyone wanting another slice. I love that it’s simple to make yet tastes like something you’d find at a high-end bakery. Whether I’m serving it at a gathering or keeping it all to myself (no shame), it never disappoints.


