Why You’ll Love This Recipe
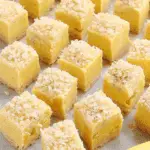
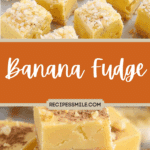
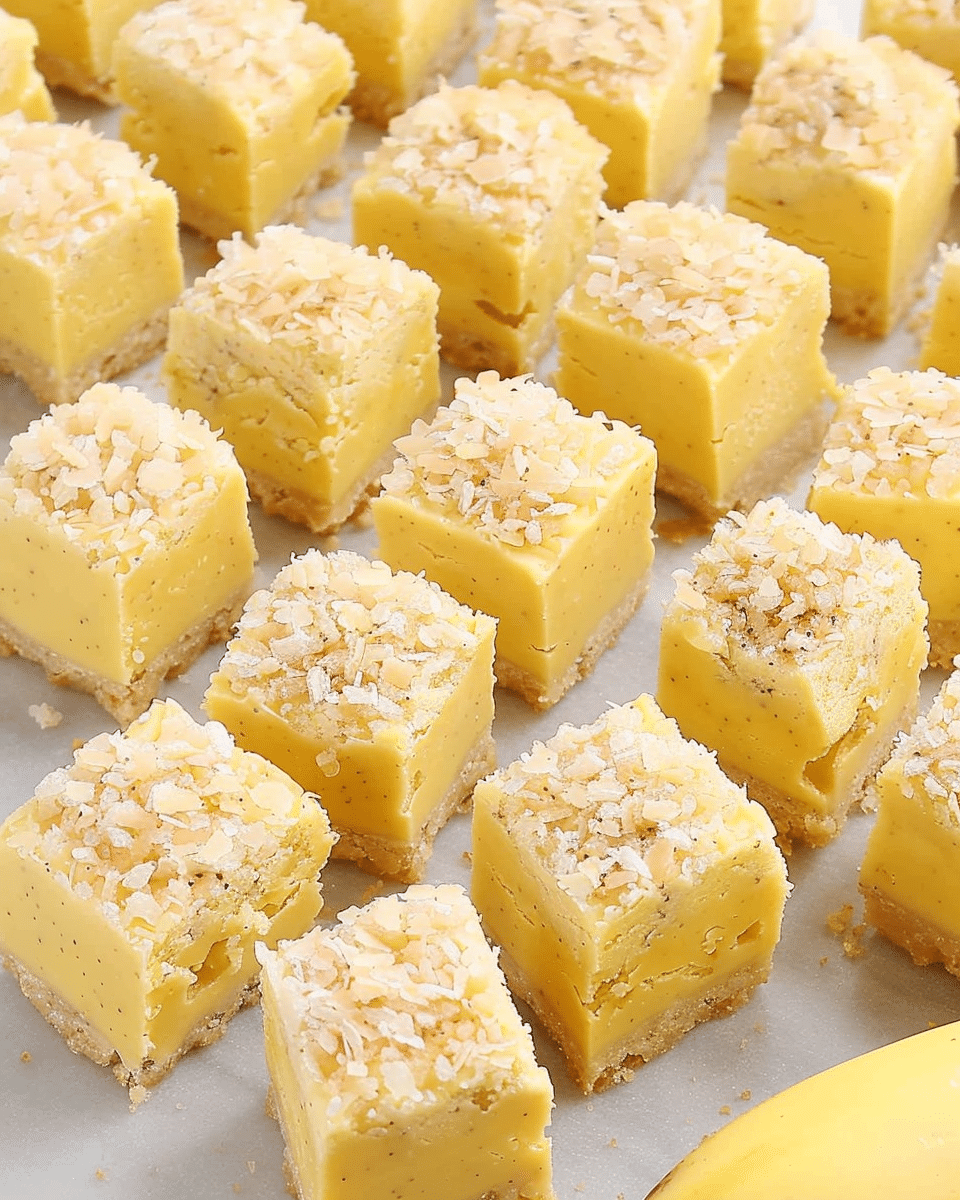
I love this fudge because it’s playful, flavorful, and comes together beautifully with just a few key ingredients. The banana flavoring gives it a sweet, almost banana cream pie-like taste, and the marshmallow fluff ensures a soft, melt-in-your-mouth texture. It’s easy to prepare, makes a generous batch, and stores well—so I can make it ahead for parties or keep it in the fridge for sweet snacking.
Ingredients
(Here’s a tip: Check out the full list of ingredients and measurements in the recipe card below.)
-
2 teaspoons banana flavoring
-
½ teaspoon yellow food color gel
-
¾ cup salted sweet cream butter
-
½ cup half and half
-
⅓ cup heavy cream
-
1 teaspoon clear vanilla flavoring
-
3 cups granulated sugar (plus 2 tablespoons)
-
1¾ cups white baking chips (I like using Ghirardelli)
-
7 ounces marshmallow fluff
-
2 tablespoons crushed Nilla wafers (optional garnish)
Directions
1. Prepare the Pan
I line a 9×9-inch baking dish with parchment paper, making sure the paper goes up all four sides. I give it a light spray with nonstick cooking spray and set it aside.
2. Mix Flavor and Color
In a small glass or disposable bowl, I combine the banana flavoring and yellow food color gel. I give it a quick stir and set it aside until the end.
3. Start the Base
In a heavy-bottomed saucepan (3–4 quart size), I add the butter, half and half, heavy cream, and clear vanilla. I stir continuously over medium heat until the butter is fully melted.
4. Add Sugar and Simmer
Once the butter is melted, I add the granulated sugar. I stir constantly as the mixture comes to a simmer, which takes about 6–7 minutes. Then I let it simmer for another 3 minutes, continuing to stir. Once done, I remove it from the heat.
5. Melt the White Chips
I add the white baking chips to the hot mixture, cover the saucepan, and let it rest for 3–4 minutes. Then I stir until the chips are completely melted and smooth.
6. Add the Marshmallow Fluff
Next, I stir in the marshmallow fluff until it’s fully incorporated into the mixture.
7. Add Banana Flavoring and Color
I pour in the banana flavoring and yellow food gel mixture. I stir until the color is even and the flavor is blended throughout the fudge.
8. Set the Fudge
I pour the finished mixture into the prepared baking dish and spread it evenly with a silicone or offset spatula. If I’m using crushed Nilla wafers, I sprinkle them on top. Then I cover the pan with aluminum foil.
9. Chill and Slice
I let the fudge sit at room temperature for 30 minutes, then transfer it to the refrigerator to chill for at least 4 hours. Once it’s set, I lift it out using the parchment paper and slice it into 25 squares (5 by 5). I keep it refrigerated until ready to serve.
Servings and timing
-
Servings: 25 pieces
-
Prep Time: 20 minutes
-
Simmer Time: 7–10 minutes
-
Chill Time: 4 hours
-
Total Time: 4 hours 50 minutes
Variations
I like to try these fun tweaks:
-
Add mini white chocolate chips or chopped dried banana pieces for texture
-
Swirl in a bit of peanut butter for a banana-and-peanut-butter version
-
Use banana pudding mix (dry) for added banana flavor and texture
-
Top with melted dark chocolate drizzle for contrast
-
Skip the yellow food coloring for a more natural look
Storage/Reheating
I keep the fudge in an airtight container in the refrigerator for up to 1 week. For longer storage, I wrap pieces in parchment and freeze them in a zip-top bag for up to 2 months. I let them thaw in the fridge before serving—no reheating needed.
FAQs
Can I use real bananas instead of banana flavoring?
I stick with banana flavoring because real bananas add moisture and can affect the texture and shelf life of the fudge. The extract keeps the flavor strong without compromising the consistency.
Do I have to use yellow food gel?
No, it’s optional. I like the vibrant color it adds, but the fudge will still taste great without it.
What’s the best way to cut clean squares?
I chill the fudge thoroughly, then use a large, sharp knife. For cleaner edges, I wipe the knife between each cut and sometimes warm it slightly.
Can I use other types of chips?
Yes, though white baking chips work best for a clean banana flavor. Milk or dark chocolate chips would completely change the flavor profile, but could be fun if that’s what I’m after.
Is marshmallow fluff necessary?
Yes—it gives the fudge its smooth, creamy consistency. I don’t recommend skipping or substituting it.
Conclusion
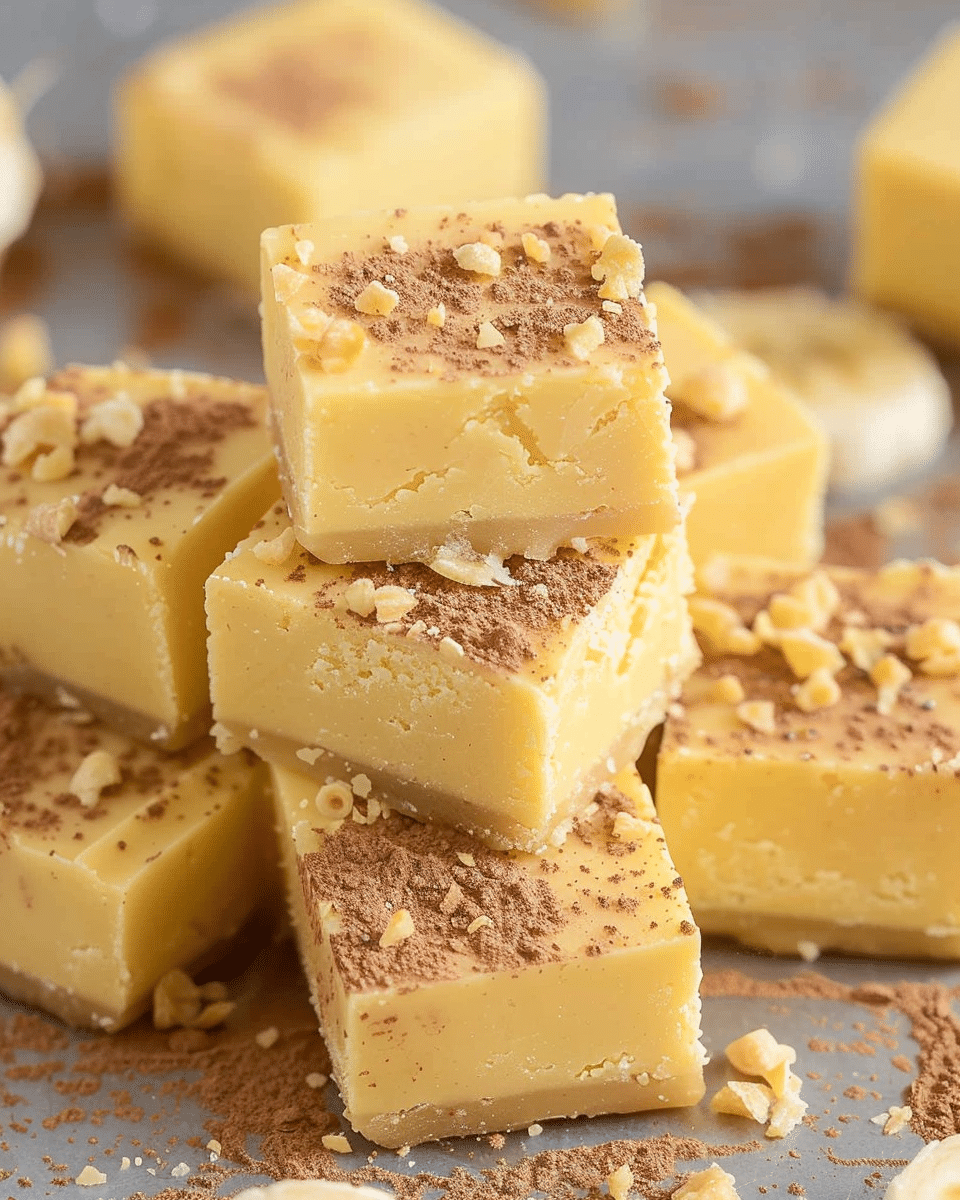
Banana Fudge is a creamy, dreamy dessert that stands out from the usual fudge flavors. I love its soft texture, nostalgic banana sweetness, and the easy prep that makes it perfect for parties, gifting, or stashing in the fridge for a quick treat. It’s a fun, flavorful twist on traditional fudge that always gets people talking.
PrintBanana Fudge
Sweet, creamy, and bursting with banana flavor, this colorful banana fudge is a fun, no-bake treat that’s perfect for parties and dessert platters.
- Prep Time: 50 minutes
- Total Time: 4 hours 50 minutes
- Yield: 25 servings
- Category: Dessert, Candy
- Method: No-Bake, Stovetop
- Cuisine: American
- Diet: Vegetarian
Ingredients
2 teaspoons banana flavoring
½ teaspoon yellow food color gel
¾ cup salted sweet cream butter
½ cup half and half
⅓ cup heavy cream
1 teaspoon clear vanilla flavoring
3 cups granulated sugar (+ 2 tablespoons)
1¾ cups white baking chips (such as Ghirardelli)
7 ounces marshmallow fluff
2 tablespoons crushed Nilla wafers (optional, for garnish)
Instructions
Prepare the Pan:
Line a 9×9-inch baking dish with parchment paper, making sure it covers all sides. Lightly spray with nonstick cooking spray. Set aside.
Mix Flavor & Color:
In a small glass bowl, combine banana flavoring and yellow food color gel. Stir until smooth and set aside.
Heat the Base Mixture:
In a heavy-bottomed 3–4 quart saucepan over medium heat, combine butter, half and half, heavy cream, and clear vanilla flavoring. Stir continuously until the butter is fully melted.
Add Sugar & Simmer:
Stir in granulated sugar. Continue stirring as the mixture reaches a simmer (about 6–7 minutes). Let it simmer for an additional 3 minutes while stirring constantly. Remove from heat.
Melt the White Chips:
Add white baking chips to the hot mixture, cover, and let sit for 3–4 minutes. Stir until the chips are completely melted and smooth.
Incorporate Marshmallow Fluff:
Add marshmallow fluff to the mixture and stir until fully blended.
Add Banana Flavoring & Color:
Stir in the prepared banana flavor and food gel mixture until evenly colored and smooth.
Set the Fudge:
Spread the fudge evenly into the prepared baking dish using a silicone or offset spatula. Sprinkle crushed Nilla wafers on top (if desired). Cover with aluminum foil.
Chill to Set:
Let the fudge rest at room temperature for 30 minutes, then refrigerate for at least 4 hours.
Cut & Serve:
Once firm, lift the fudge out of the pan using the parchment paper. Cut into 25 even squares (5×5). Store in the refrigerator until ready to serve.
Notes
Use a glass bowl for mixing food color to prevent staining.
Don’t skip the cooling time — it ensures a smooth, creamy texture.
For extra flavor, drizzle melted white chocolate on top before chilling.
Fudge will keep in the refrigerator for up to 1 week or freeze for up to 2 months.

