I love this recipe because it uses only a few basic ingredients, yet the results feel incredibly special. I don’t need complicated tools or techniques. The dough comes together in minutes, and I can cook the arepas on a skillet, then finish them in the oven for that perfect fluffy center. I also appreciate how customizable they are. I can make them hearty for dinner, lighter for lunch, or even sweet for a treat. Since they’re made with corn flour, they’re naturally gluten-free, which makes them suitable for many dietary needs.
Ingredients
(Here’s a tip: Check out the full list of ingredients and measurements in the recipe card below.)
2 cups pre-cooked white corn flour (such as Harina PAN) 2 1/2 cups warm water 1 teaspoon salt 1 tablespoon vegetable oil (for cooking)
Optional add-ins: 1/2 cup shredded cheese A pinch of sugar for extra browning
Directions
Mix the dough: I pour the warm water into a large bowl and stir in the salt. Slowly, I add the corn flour while mixing with a spoon to prevent lumps. Once combined, I knead gently with my hands for about 3 minutes until the dough is smooth and soft.
Rest the dough: I cover the bowl with a clean towel and let the dough rest for 5–10 minutes. This helps the flour fully absorb the water.
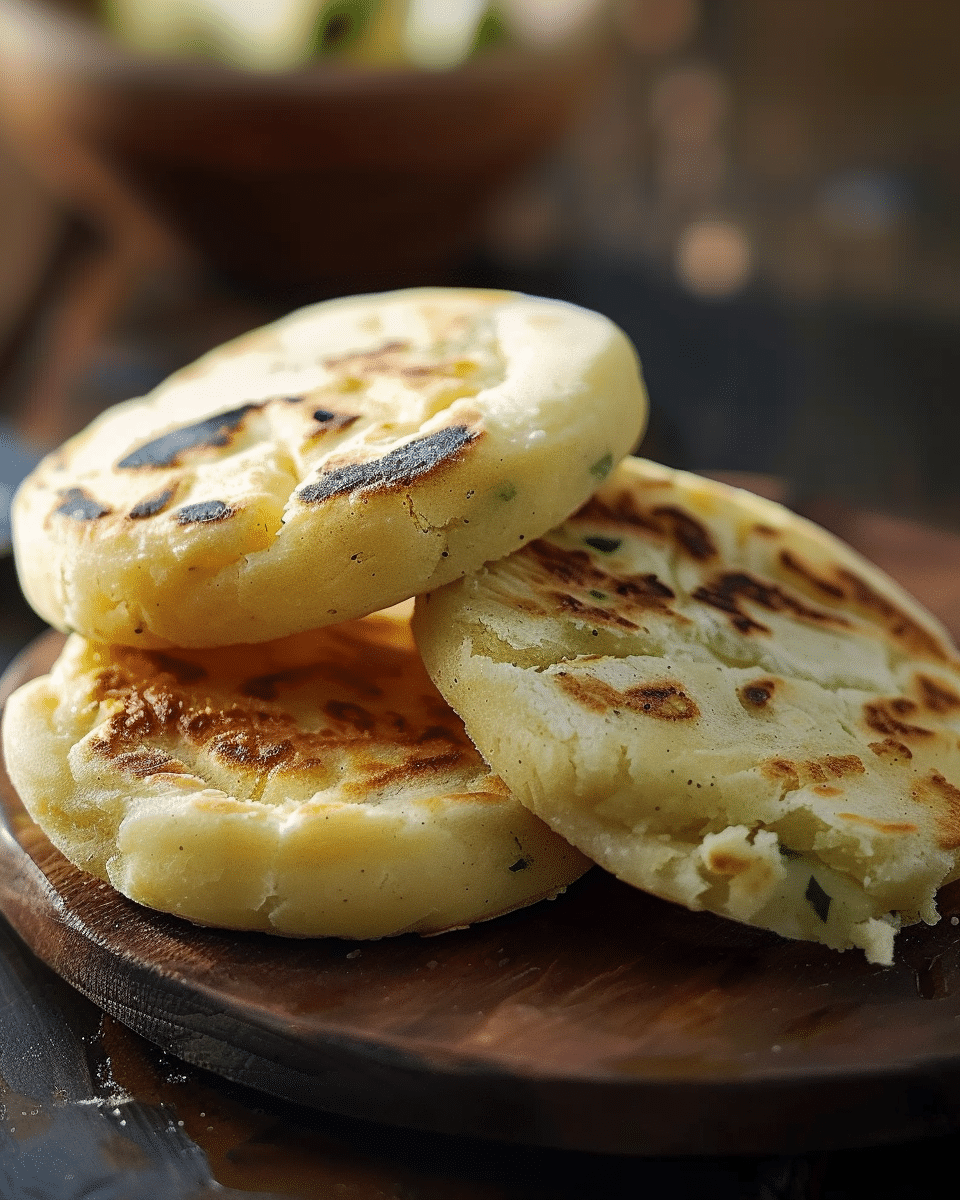
Shape the arepas: I divide the dough into 6–8 equal pieces. I roll each piece into a ball, then gently flatten it into a disc about 1/2 inch thick.
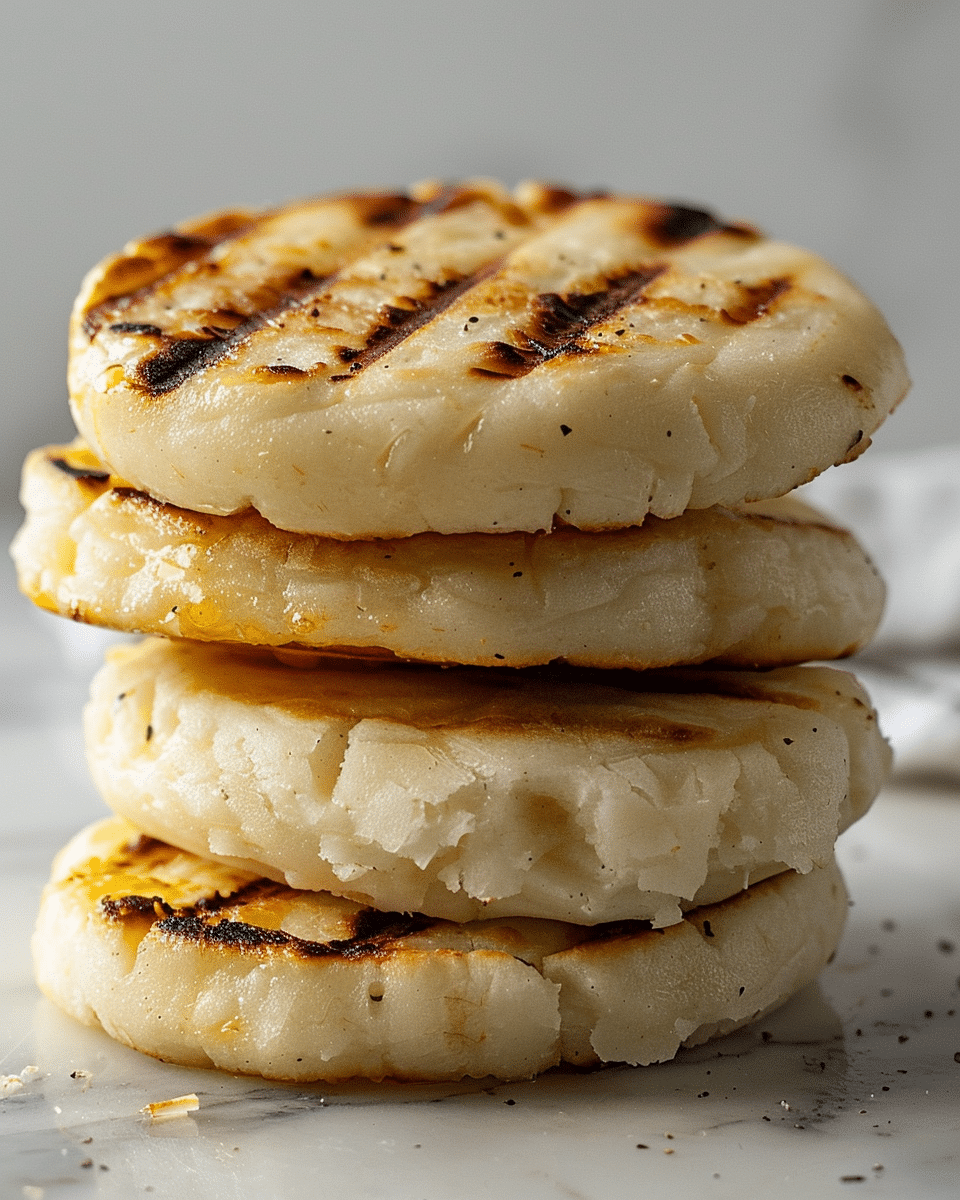
Cook on the skillet: I heat the oil in a non-stick skillet over medium heat. I place the arepas in the pan and cook for about 5–6 minutes on each side until a golden crust forms.
Finish in the oven (optional but recommended): I transfer the arepas to a 350°F (175°C) oven and bake for 10 minutes to ensure the centers are fluffy and fully cooked.
Slice and fill: Once slightly cooled, I slice them halfway open and fill them with my favorite ingredients.
I sometimes mix shredded cheese directly into the dough for cheesy arepas. If I want a heartier texture, I use yellow corn flour instead of white. For a healthier twist, I add chia seeds or ground flaxseed to the dough. When I want something different, I make smaller, thinner arepas for sliders or thicker ones for heavily stuffed sandwiches. I also experiment with sweet versions by adding a small amount of sugar and filling them with fruit or sweet spreads.
Popular filling ideas I enjoy include shredded chicken with avocado, black beans with white cheese, scrambled eggs with sautéed vegetables, shredded beef, or grilled vegetables with hummus for a plant-based option.
Storage/Reheating
I store cooked arepas in an airtight container in the refrigerator for up to 4 days. To reheat, I place them in a 350°F oven for about 8–10 minutes until warmed through. I can also reheat them in a skillet over medium heat to restore crispness. If I want to freeze them, I let them cool completely, store them in a freezer-safe bag, and freeze for up to 2 months. I reheat directly from frozen in the oven until hot and crisp.
FAQs
Can I make arepas ahead of time?
Yes, I often cook them in advance and store them in the refrigerator. When I am ready to serve, I simply reheat and fill them.
Why are my arepas cracking?
If my arepas crack while shaping, I know the dough is too dry. I add a tablespoon of warm water at a time and knead again until smooth.
Can I bake instead of pan-fry?
Yes, I can bake them at 375°F for about 25–30 minutes, flipping halfway through. However, I find that pan-frying first gives a better crust.
Are arepas gluten-free?
Yes, traditional arepas made with pre-cooked corn flour, water, and salt are naturally gluten-free.
How do I know when they are fully cooked?
I gently tap the arepa. If it sounds hollow and feels firm on the outside with a soft interior, I know it is ready.
Conclusion
I find that arepas venezolanas are simple yet deeply satisfying. With just corn flour, water, and salt, I can create a versatile base for countless fillings. Whether I keep them traditional or experiment with modern flavors, I always end up with a comforting, golden arepa that brings warmth and flavor to my table.
Discover the ultimate guide to arepas venezolanas with authentic tips, traditional fillings, and step by step instructions. Learn how to make flavorful, easy and naturally gluten free Venezuelan arepas at home with simple ingredients.


